
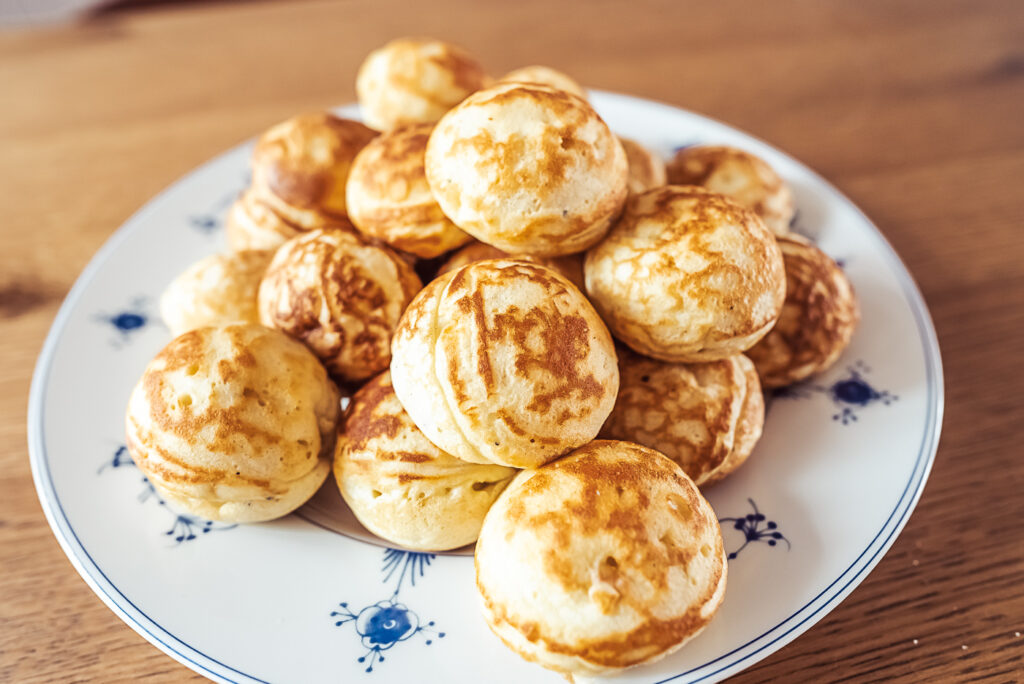
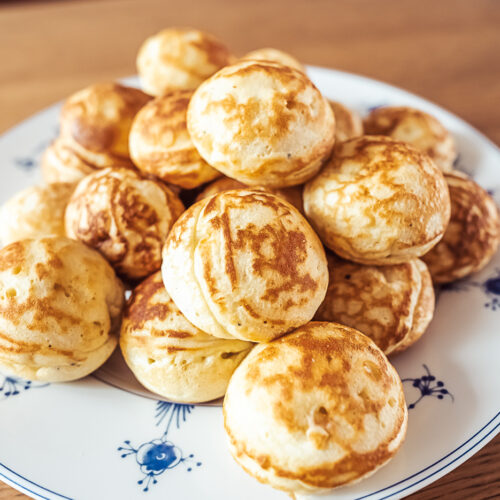
Æbleskiver (Danish Pancake Balls)
Æbleskiver (also written as ebelskiver or ebleskiver in English) are spherical pancake-like snacks popular in Denmark, especially around Christmastime. They’re incredibly light and fluffy, usually sprinkled with powdered sugar and served with raspberry jam. We make them in Norway as well and call them munker, but they’re considered a bit more old fashioned here, while in Denmark you’ll see them in supermarkets and street stalls every winter.
Æbleskiver translates to “apple slices,” which is kind of confusing because modern day æbleskiver don’t have apples in them. Apparently when æbleskiver first appeared in cookbooks in the 17th century, they were simply apple slices dipped in egg and flour and fried in butter in a regular frying pan. But modern day aebleskiver don’t have apples in them, and they’re made in a special æbleskiver pan with holes for the batter.
You can buy an æbleskiver pan on Amazon here. They’re quite small so won’t take up too much space in your cupboard, and æbleskiver are such a fun variation of pancakes I think you’ll get good use out of your æbleskiver pan. Plus you can also use the pan to make Japanese takoyaki!

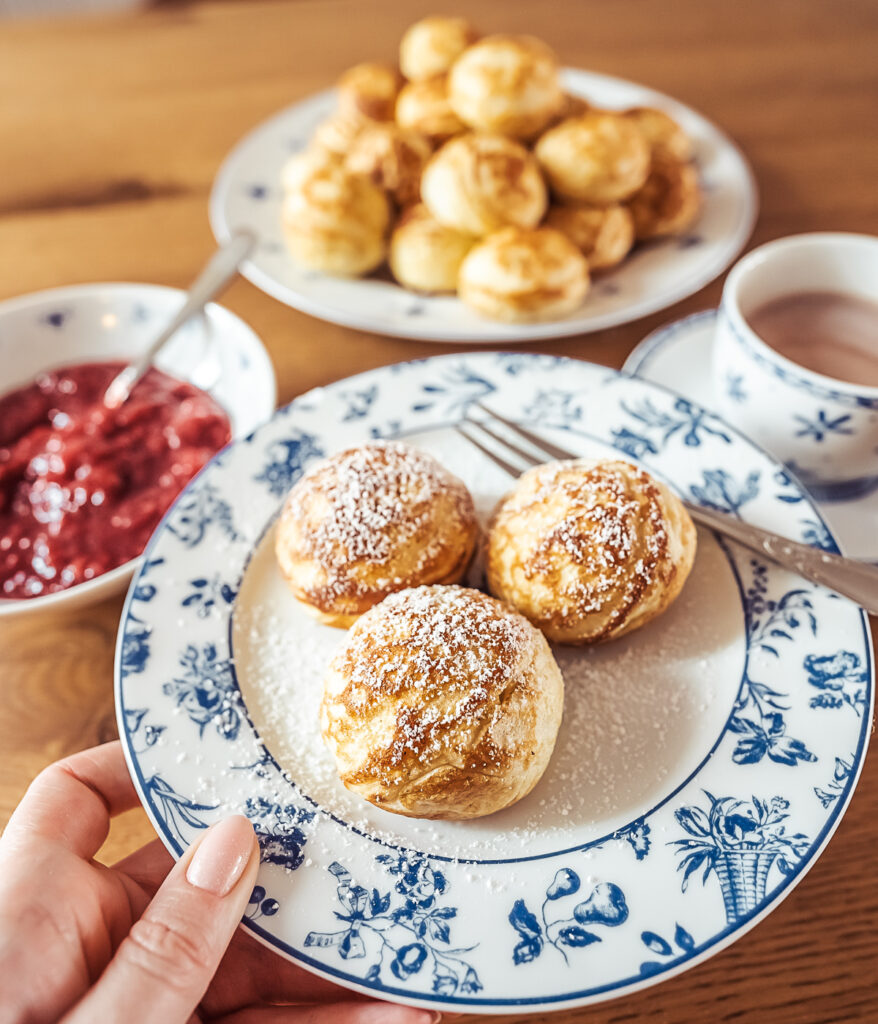
In Denmark æbleskiver are usually dusted with powdered sugar and served with jam as an afternoon snack.
But while aebleskiver are considered more of a snack food or dessert in Denmark, they’ve actually become quite popular as a breakfast food amongst Scandinavian Americans in the US! And this is one of those cases where I think Americans might have improved upon this Scandinavian classic, topping them with maple syrup and sometimes filling them with chocolate chips or berries.
Æbleskiver batter is pretty similar to most pancake batter. The biggest difference is that you separate the eggs and then whisk the egg whites until they’re stiff before folding them into the batter. This makes for an extra light and spongey batter.

I use buttermilk or skimmed cultured milk (skummet kulturmelk in Norway) for the batter, but if you don’t have either you can make these with half milk and half plain yoghurt instead.

I add freshly ground cardamom to my æbleskiver, and you can also add in nutmeg and/or cinnamon if you want more spices. Alternatively, I’ve also had æbleskiver flavored with lemon zest instead of cardamom. If you want to make lemon æbleskiver you can add the zest of one lemon to the batter.
Make sure you take time to properly heat up your pan before cooking the æbleskiver. The butter should sizzle when you add it to the pan. And really coat the pan in butter for the first batch, as you don’t want the dough to stick at all. After the first batch, a quick brush with butter each time should be fine. I cook the aebleskiver on medium heat, adjusting the temperature down if the edges are cooking too quickly, as then the middle won’t have time to cook through.
You can use a wooden skewer or a knitting needle to turn your æbleskiver in the pan. This æbleskiver pan actually comes with two wooden skewers for turning.
Frying the æbleskiver might look intimidating, but it’s actually super fun! There’s something so satisfying about turning the æbleskiver, especially when you get a perfectly cooked sphere. It might take a couple rounds to get them right, but you’ll get the hang of it quickly.
Fill each æbleskive hole almost to the top with the batter.
Then wait until the edges are firm and turn every æbleskive about a 1/4 turn. Once I’ve turned them all I immediately go back to the first one and start turning them another quarter, this time from a different edge. Usually the first round I’ll turn from 6 o’clock up to 12, and the next round from 3 o’clock over to 9. You want to move fairly quickly so that the batter is still liquid enough to run down the edges so you eventually get a perfect sphere. Then keep rolling them around the pan until they’re golden brown.
If you want to fill the æbleskiver with chocolate chips or fruit you can add them after the first 1/4 turn.

Check your first batch to make sure the center cooked fully through – if it didn’t reduce the heat on your pan.
Then dust them with powdered sugar and serve with berry jam or maple syrup – or whatever you like!

You can switch the recipe from US measurements to metric by clicking from “US Customary” to “Metric” under Ingredients.
Æbleskiver (Danish Pancake Balls)
Equipment
- electric mixer (hand or standing)
- æbleskiver pan
Ingredients
- 2 cups all purpose flour
- 1/2 tsp salt
- 2 tbsp granulated sugar
- 1 tsp baking soda
- 1/2 tsp cardamom
- 3 eggs
- 1 and 3/4 cups buttermilk or cultured skim milk
- butter (for greasing pan)
For serving
- powdered sugar
- raspberry jam
Instructions
- Whisk the flour, salt, sugar, baking soda, and cardamom together in a large bowl.
- Separate the eggs and add the egg yolks to the flour mixture. Pour in the buttermilk (or cultured milk) and whisk the batter together until smooth. Cover and refrigerate for about 30 minutes.
- Use a hand (or stand) mixer to beat the egg whites until stiff. Carefully fold into the æbleskiver batter.
- Heat the pan on medium heat. Once hot, brush the pan with butter and fill each æbleskive hole almost full with the batter.
- Once the edges become firm use a knitting needle or wooden skewer to turn the æbleskiver about 1/4. Continue turning until you get round pancake spheres. They should be golden brown.
- Remove the æbleskiver from the pan and serve with powdered sugar and jam.
3 Comments
Hannah
October 25, 2023 at 8:27 pm
I couldn’t find my old recipe for these but this one was great! Remember to use lots and lots of butter to keep them from sticking.
Russ
October 28, 2024 at 7:46 am
If you’re Danish? You don’t need a reminder to use lots and lots of butter.
We eat it on everything!
LOL
George Sampedro
April 15, 2025 at 4:57 pm
I am so grateful for your posting, both for your recipe and for your comments and insights.
God bless and be well!
George Sampedro