Hindbærsnitter (Danish Raspberry Squares) (Alexandertorte)
We’re starting to see the first hints of spring here in Bergen, so this week I wanted to make something a bit colorful. Hindbærsnitter are Danish raspberry squares that are equally pretty and delicious. Hindbærsnitter are made with two sheets of vanilla shortcrust pastry filled with a thick layer of raspberry jam, topped with icing and cut into squares. I like to decorate my hindbærsnitter with crumbled freeze dried raspberries, but I’ve also seen them topped with sprinkles. For extra flavor, you can add a bit of lemon juice or almond or vanilla extract to the icing.
Hindbærsnitter are a Danish favorite, but they’re popular all over Scandinavia. And I guess a lot of countries have similar versions of raspberry squares. Danish raspberry squares are almost identical to Alexandertorte, an East German dessert with Latvian roots.
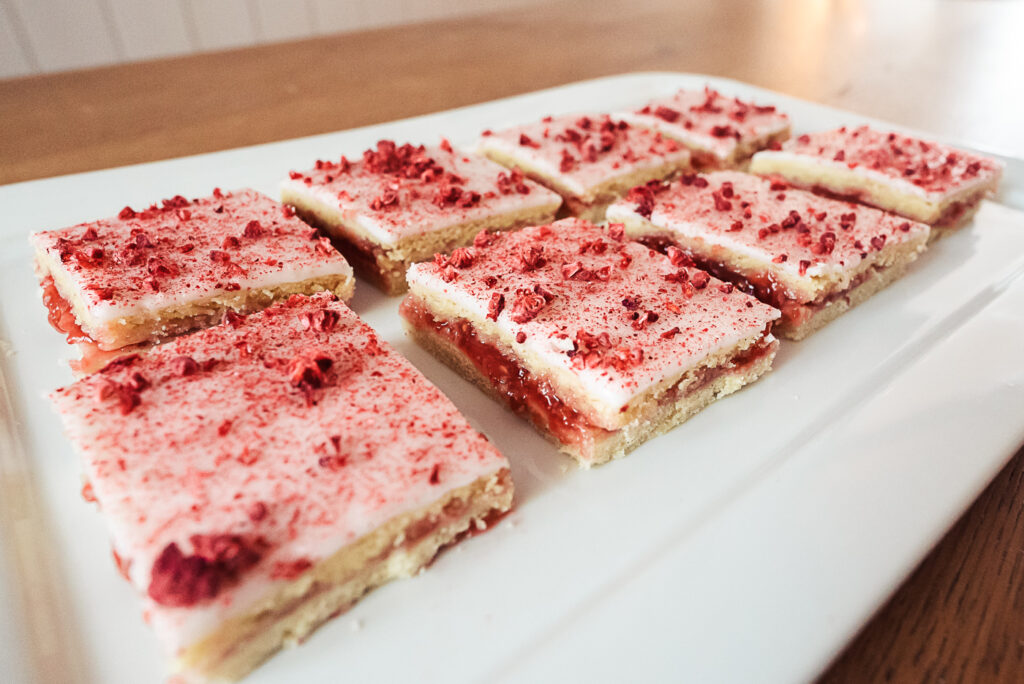
Tips
Hindbærsnitter are quite easy to make. The trickiest part is rolling the dough out into equal sized rectangles, though if they’re not quite the same you can simply cut off the ends after stacking them.
It’s easiest to make the dough in a food processor, but you can also use your hands instead. Use cold butter and cut it into small squares so it’s easier to mix in with the other ingredients.
I find the easiest way to roll the dough into nice rectangles is to start with two equal cylinders of dough and then roll them upwards instead of lengthwise (you can see the video below the recipe). I roll the dough between two sheets of baking paper so it doesn’t stick to the rolling pin.
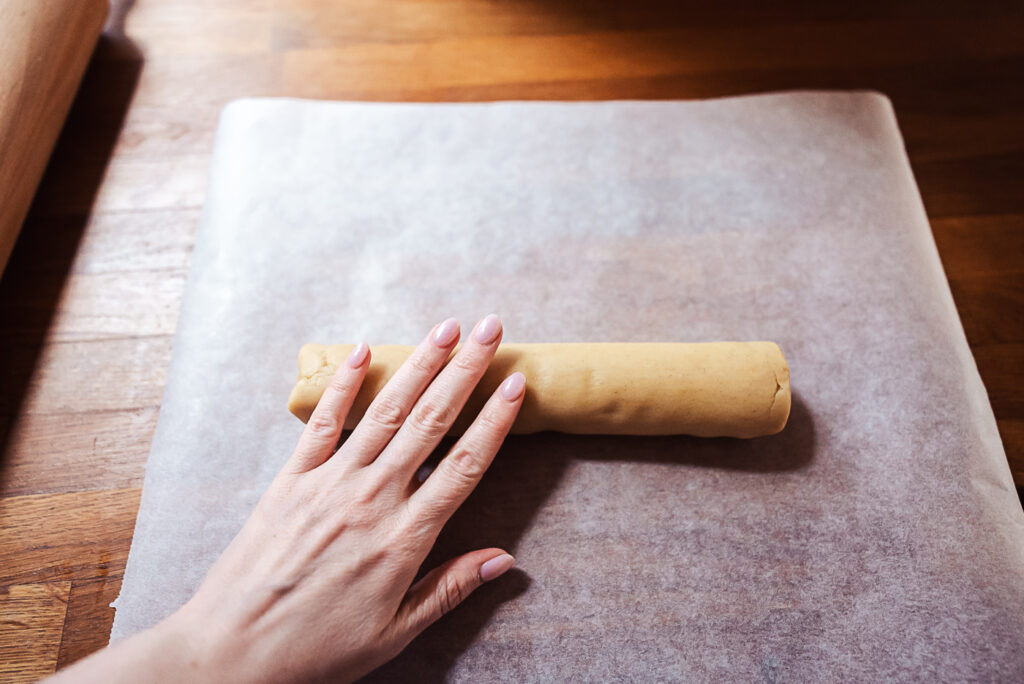
After rolling the dough I cut off the edges, and then I might roll them into long sausages and add them to the edges of the rectangle and roll it out again. This way I don’t end up wasting any dough. If you want to be very exact you can use a measuring tape to make sure the two rectangles of dough are the same size.
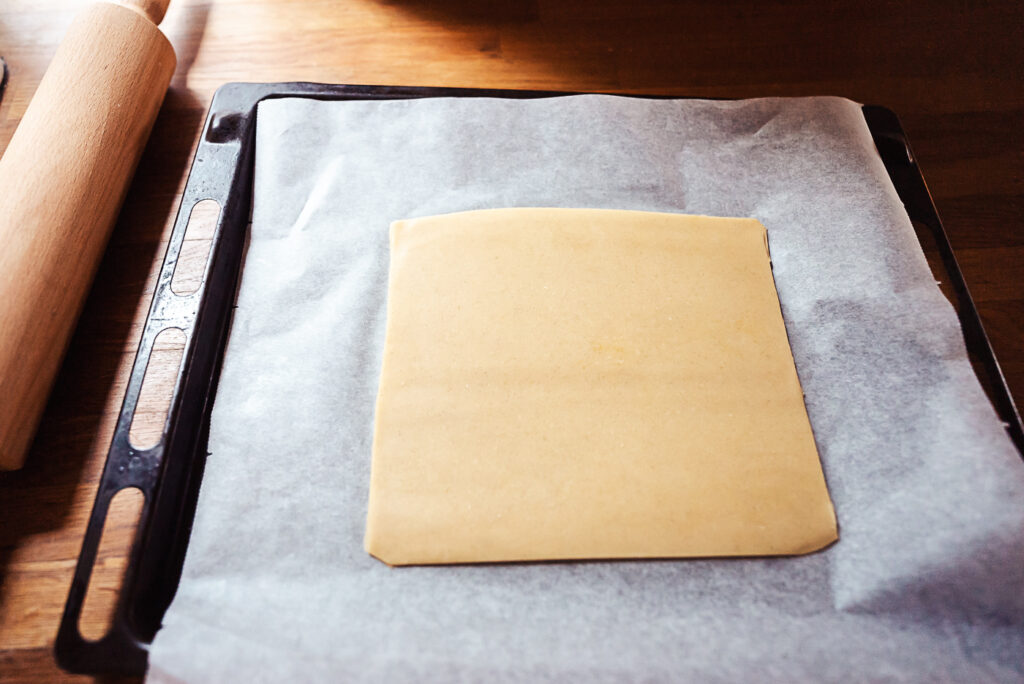
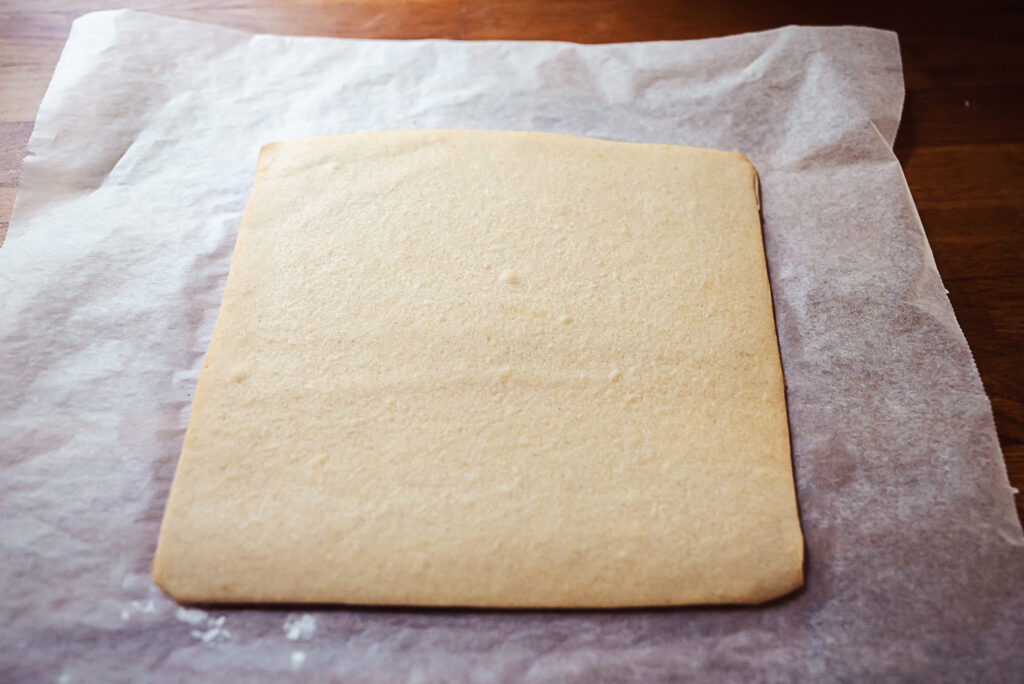
The crust should be fairly soft, so you don’t want to bake it too long. It will still be pale when it’s ready, so if the edges start to turn golden you’ve baked it for too long. But don’t worry, it will still taste good even if it’s a bit crispy.
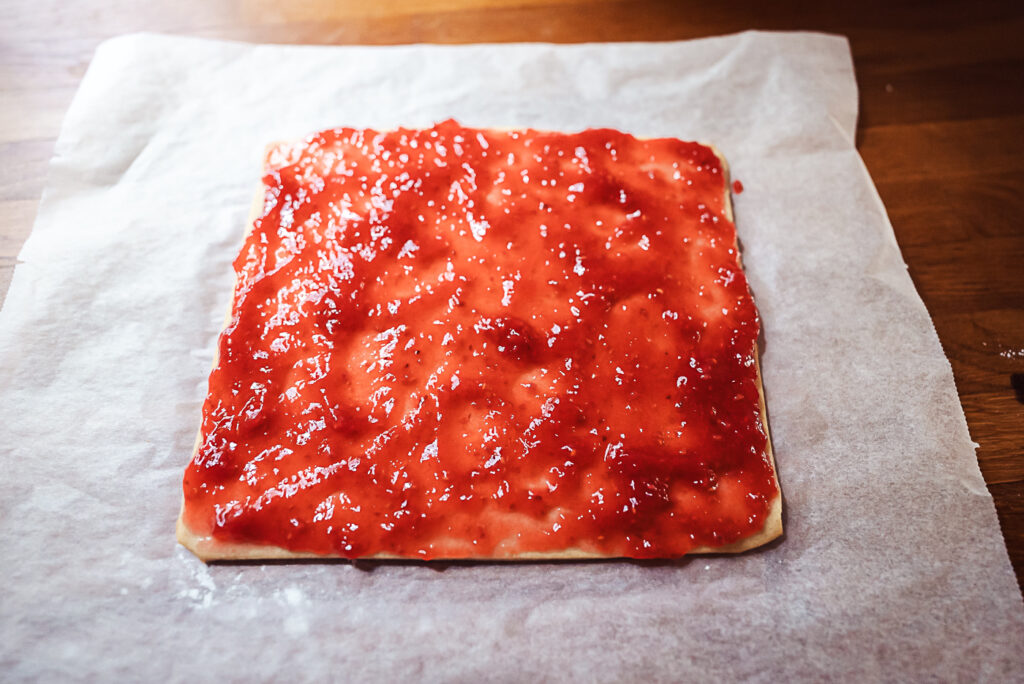
You can add raspberries to the raspberry jam to make it thicker, or simply use jam.
I like to add some lemon juice, almond extract, or vanilla extract to the icing for a bit more flavor, but that’s totally optional.
Decorating the top is also optional, but crumbled freeze dried raspberries make an excellent topping. I first dust them on through a strainer and then I add the larger bits of raspberry to the top. Do this right after spreading the icing, before it sets.
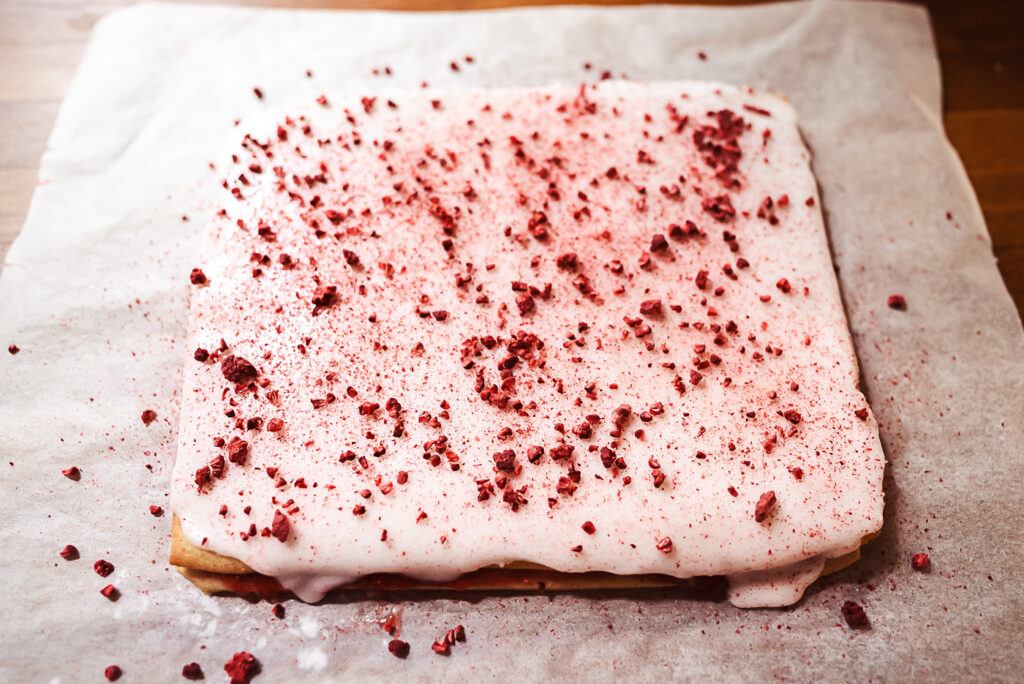
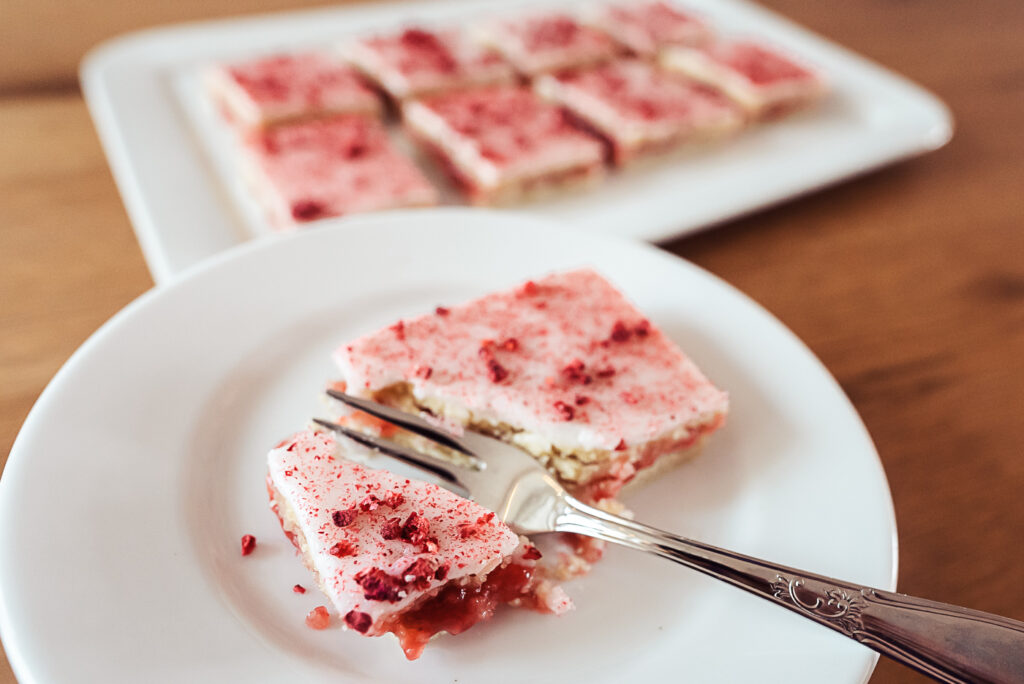
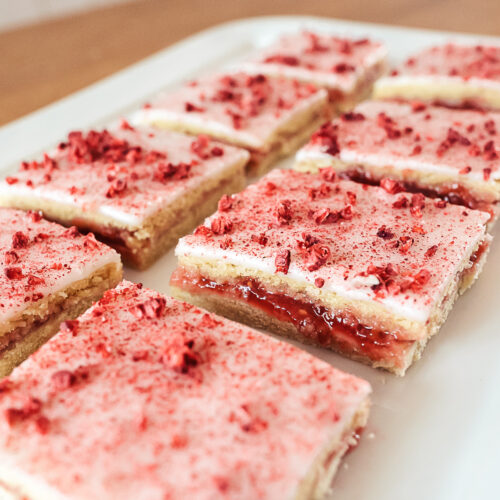
Once the cake is fully cooled, cut it into squares or rectangles with a sharp knife. I find that it looks neater if I cut mostly with the tip of the knife. You can also cut off the edges to clean up the slices a bit, but of course that’s just for aesthetics. Well, that and the edges make for a great little snack before you actually serve the hindbærsnitter.
This is one of those rare treats that (I think) tastes better the next day. I store them in an airtight container.
You can switch the recipe from US measurements to metric by clicking from “US Customary” to “Metric” under Ingredients.
Hindbærsnitter (Danish Raspberry Squares) (Alexandertorte)
Equipment
- Rolling Pin
- baking paper
Ingredients
Cake base
- 1 cup powdered sugar
- 1 vanilla pod (or 1 tsp vanilla extract)
- 2 and 3/4 cups all purpose flour
- 14 tbsp cold butter
- 1 egg
Raspberry Filling
- 2/3 cup raspberry jam
- 3/4 cup raspberries (optional)
Icing
- 2 cups powdered sugar
- 2 tbsp water
- 1 tsp lemon juice, almond extract, or vanilla extract (optional)
Decoration
- freeze dried raspberries
Instructions
Cake base
- Scrape the seeds out of the vanilla pod and add them to the powdered sugar. Add the flour and butter to the vanilla sugar mixture and either run the mixture in a food processor or mix with your hands until the butter is fully incorporated.
- Add the egg and knead the dough together into a ball. Wrap in plastic wrap and chill in the fridge for about 30 minutes.
- Divide the chilled dough in two equal sections. Roll the dough into a cylinder and then use the rolling pin to roll the dough into a rectangle (about 8×9 inches, or 20×24 cm). I place baking paper below and on top of the dough so it doesn't stick to the rolling pin. Use a knife to cut off the edges so you get a fairly even rectangle.
- Roll the other half of the dough out into a rectangle as well. You can use a measuring tape to make sure the rectangles are nearly the same size, or simply eyeball it (they don't have to be exactly the same, but the closer in size the better).
- Preheat oven to 375°F (190°C). Let the rectangles chill in the fridge again while the oven preheats.
- Bake each rectangle for about 10 minutes. They should still be pale and soft when finished baking, not yet golden brown.
- Let the rectangles cool a bit and then carefully set one on a cake plater.
Filling and Decoration
- Spread the raspberry jam evenly over the cake rectangle. If you want a thicker jam. you can use a fork to crush raspberries into the jam before spreading it out.
- Carefully set the other rectangle on top of the bottom layer.
- Mix the powdered sugar and water together until you get a nice icing. You can add lemon juice, or almond/vanilla extract if you like, but it's not necessary. The icing should be just thick enough to spread, but not so thin that it runs over the cake. Add more powdered sugar or water as necessary.
- Carefully spread the icing over the top of the cake.
- If desired, crush some freeze dried raspberries and sprinkle them over the top of the icing before it hardens.
- Once the icing hardens, cut the cake into squares with a sharp knife. If the two layers are different sizes, you can cut off the edges to clean them up a bit.
- Store in an airtight container or ziplock bag.
