Kanelsnegle (Danish Cinnamon Rolls)
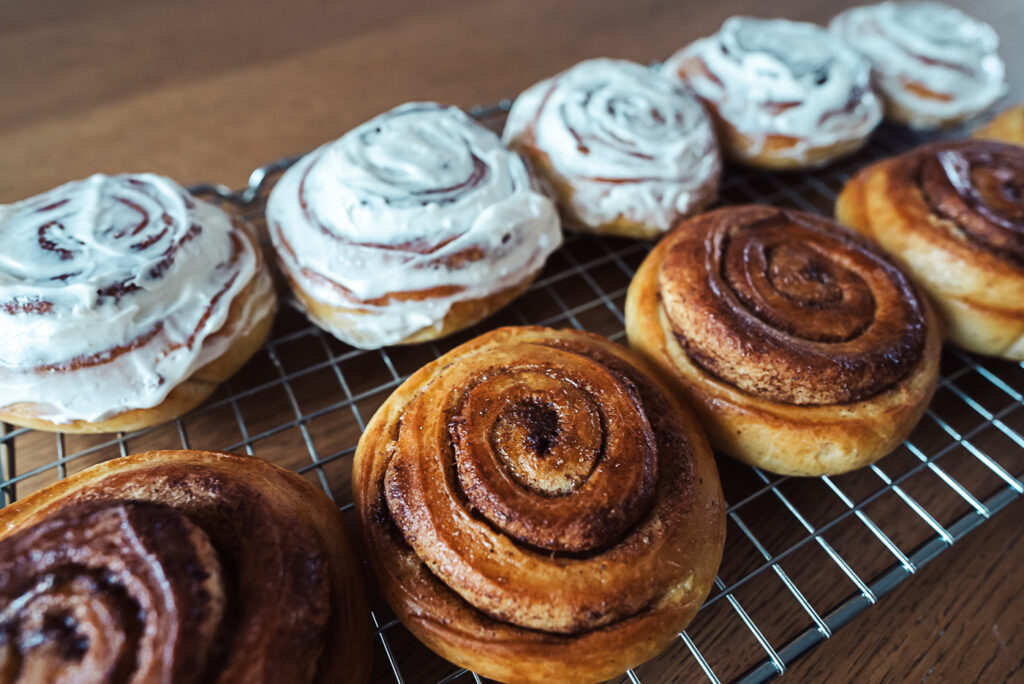
Denmark has so many wonderful sweet buns and pastries (hello, Danishes), and one reliable Danish classic is kanelsnegle. Kanelsnegle, or “cinnamon snails,” are Danish cinnamon rolls made with a buttery cardamom dough and filled with cinnamon, sugar, and butter.
Kanelsnegle set themselves apart from other cinnamon rolls with the great amount of butter in the dough and their hint of freshly ground cardamom. Traditionally they are bare or drizzled with powdered sugar icing. However last time I was in Copenhagen I had the most delicious kanelsnegle with cream cheese glaze at Andersen & Maillard in Nørrebro. So today I decided to recreate their cream cheese frosting topped kanelsnegle. Well, I topped half of them and kept the other half bare, because classic kanelsnegle are also so good.
In the recipe below I’ve included an optional cream cheese glaze.
Tips
You can use ground cardamom for this recipe, but if you have a mortar and pestal I highly recommend grinding cardamom seeds instead, as freshly ground seeds are much more flavorful. I wouldn’t bother unless it really made a difference, but it really does.
Kanelsnegle dough has a lot of butter in it. And while usually it’s best to add butter to dough towards the end of kneading, in this case you should add in the melted (and cooled to room temperature) butter at the beginning. You can knead the dough by hand or in a mixer with a dough hook. I knead it by hand for about ten minutes.
Try to add as little flour to the dough as possible when mixing together the kanelsnegle dough. I usually save the last half cup of flour until I turn the dough out onto my counter to knead. Then I slowly add flour until I can knead the dough without it sticking.
Let the dough rise until it’s about double in size. This usually takes around an hour, however the rising time will vary depending on your room temperature and whether you’re using fresh or instant yeast.
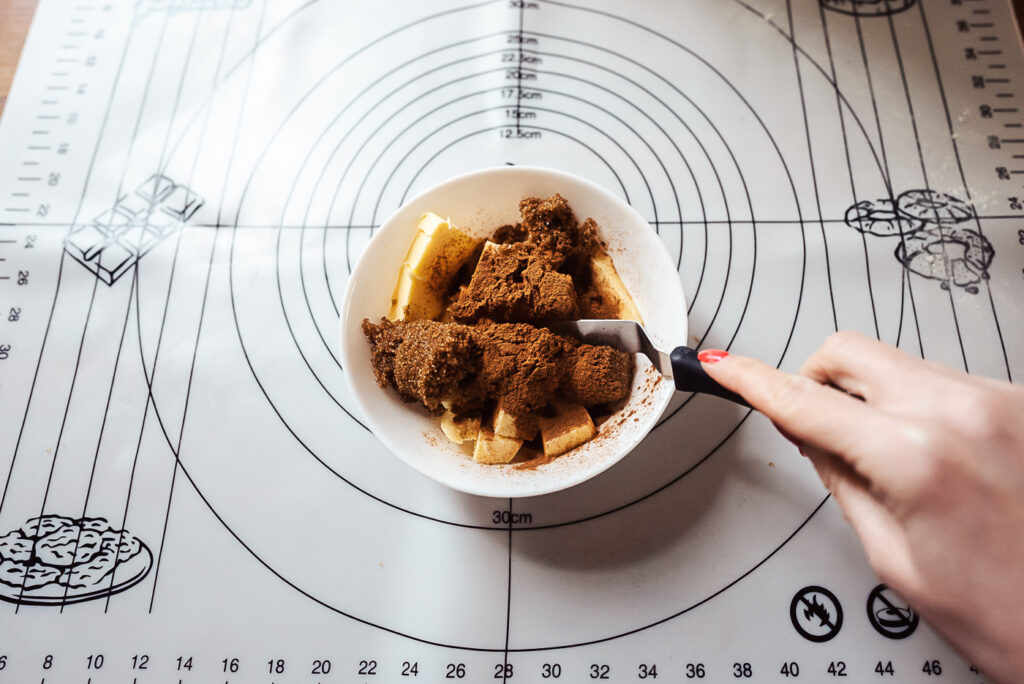
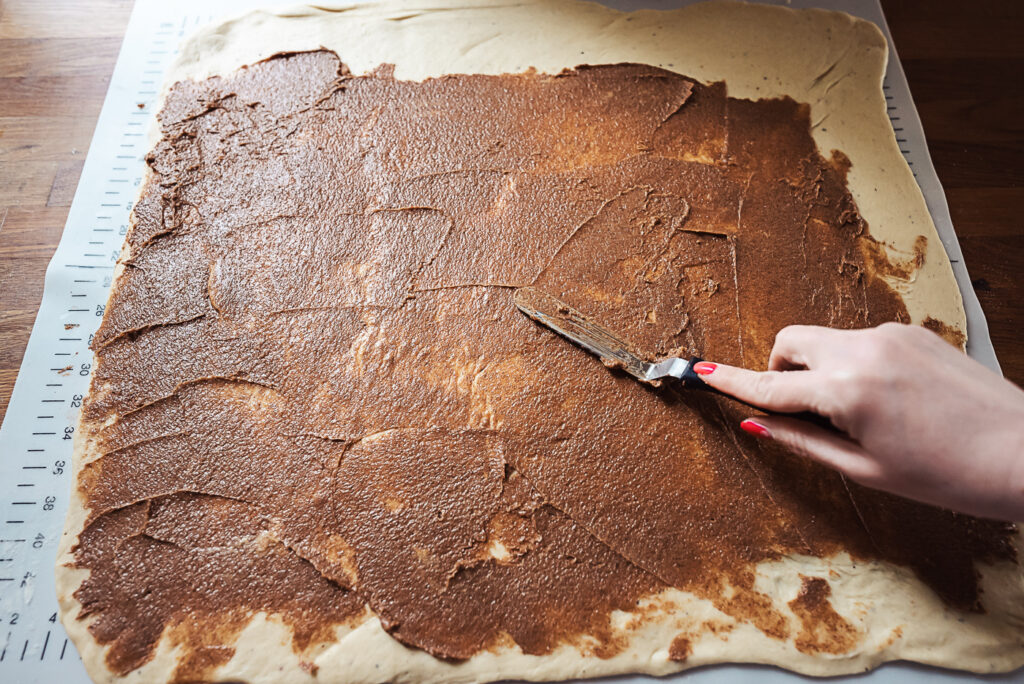
I roll the dough out into a square instead of a rectangle. This ensures that I can roll the dough many times so that the cinnamon “snails” have lots of curls.
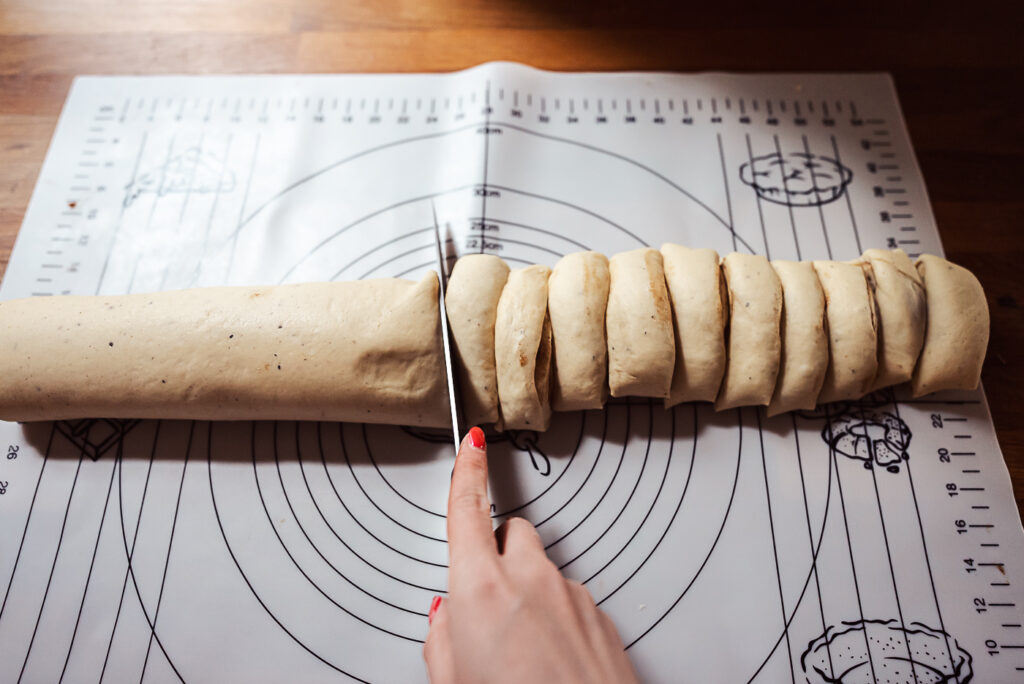
Kanelsnegle are typically on the thinner side for cinnamon rolls, but you can of course decide yourself how thickly or thinly you would like to cut them.
Be sure to brush the kanelsnegle very thoroughly with the egg wash – you want it covering the entire top and sides of the cinnamon buns.
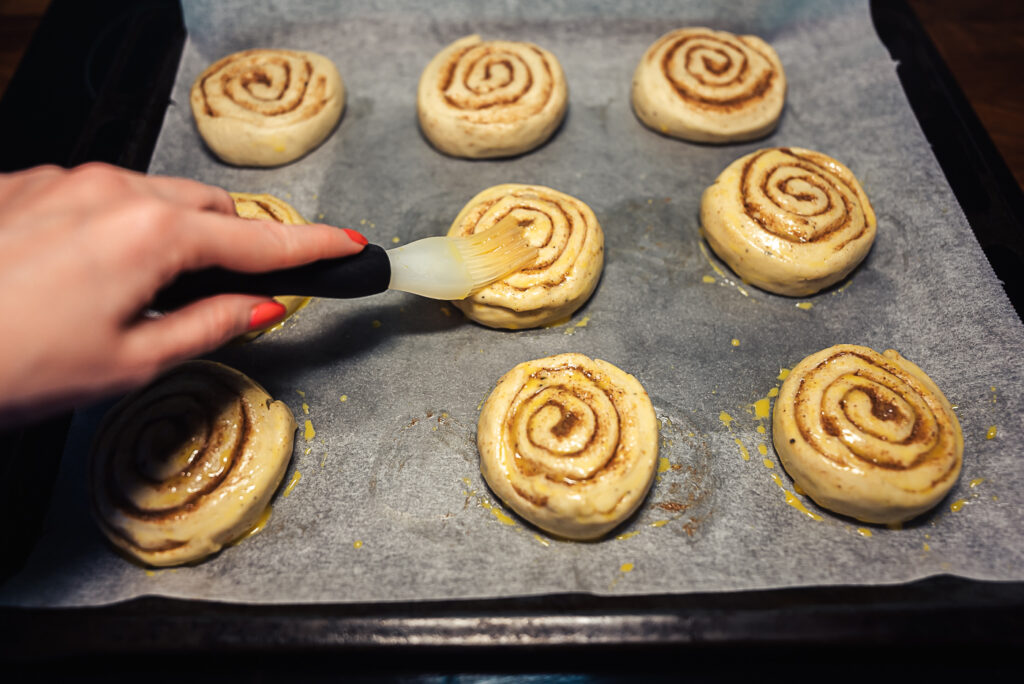
Do not bake these longer than necessary! The most common mistake I see when making cinnamon rolls is baking them for too long, which results in dry buns. I bake mine for exactly 10 minutes, until the tops and bottoms are golden brown.
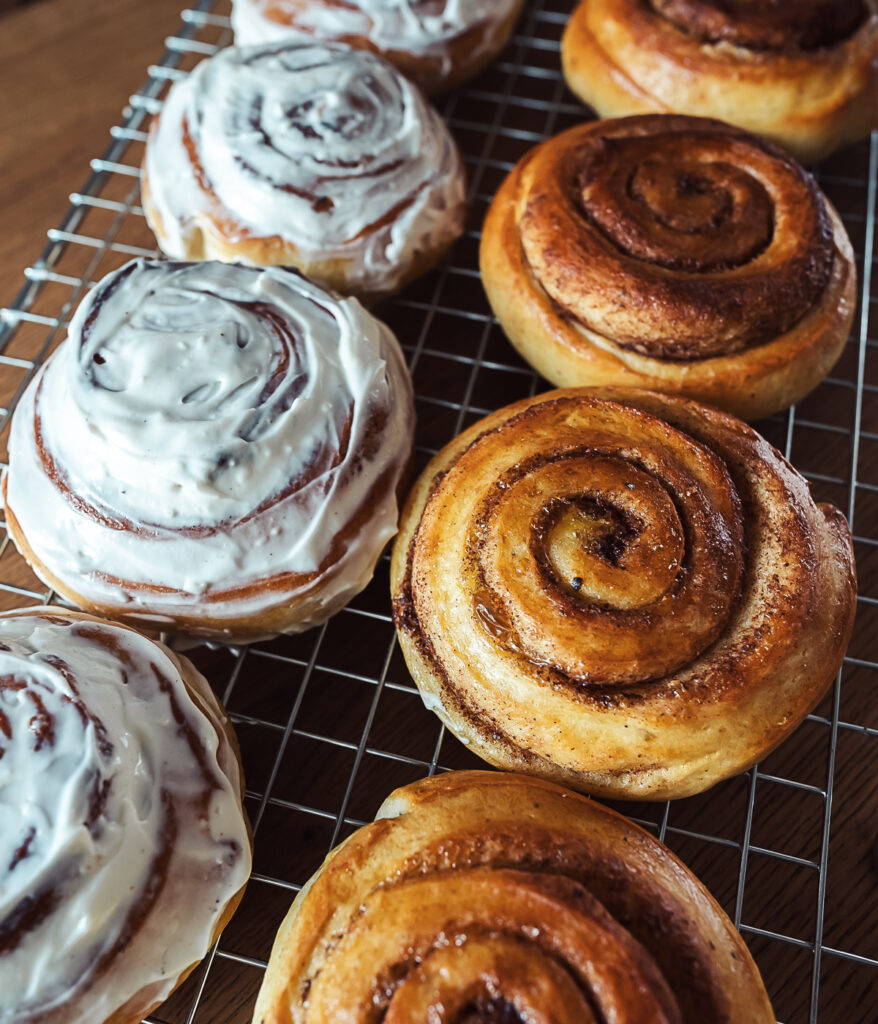
If you’re planning on freezing these, freeze them as soon as they’ve cooled. Freeze them without the cream cheese frosting. Then you can either pop them in the oven for a few minutes or defrost them and toast them and they’ll taste freshly baked.
You can switch the recipe from US measurements to metric by clicking from “US Customary” to “Metric” under Ingredients.
Kanelsnegle (Danish Cinnamon Rolls)
Equipment
- Rolling Pin
Ingredients
- 2 cups milk
- 14 tbsp butter
- 1 cup powdered sugar
- 4 tsp instant yeast (or 50 g fresh yeast)
- 1 tsp cardamom
- 6 cups flour
Cinnamon filling
- 11 tbsp butter (softened)
- 6 tbsp brown sugar
- 1.5 tbsp cinnamon
Egg wash
- 1 egg (whisked)
- 1 tbsp milk
Cream cheese glaze (optional)
- 4 oz cream cheese
- 1 cup powdered sugar
- 1 tsp vanilla sugar or vanilla extract
- 2-3 tbsp milk (more if necessary)`
Instructions
- Heat the milk, butter, and powdered sugar in a saucepan. Then cool until just a bit warmer than lukewarm.
- Pour the milk mixture into a mixing bowl and add the cardamom and yeast. Stir until dissolved and then slowly add the flour. You may need more or less flour. Add enough so that you can knead the dough into a nice ball without being too sticky. Knead for about 10 minutes, then cover and let rise until double in size (about an hour).
- Mix together the butter, sugar and cinnamon. If the butter is still hard you can pop it in the microwave for a few seconds so it's easy to spread.
- Roll out the dough into a large square. Spread the cinnamon butter mixture across all of the square, leaving a few centimeters (couple of inches) at the top of the square.
- Roll the rectangle from the bottom up into a long cylinder. Use a knife to cut thick (1 – 2 inch) slices out of the cylinder. This should make about 18 – 20 buns. Set the buns spaced apart on baking sheets (I use two pans) and cover with a cloth. Let the buns rise again for 30 minutes.
- Preheat oven to 445°F (230°C). Whisk together egg and a splash of milk. Carefully brush each bun with the egg wash. Bake cinnamon rolls for 10 – 12 minutes, until golden brown. Be careful not to over bake (I bake mine for 10 minutes).
Cream cheese glaze (optional)
- Mix together the cream cheese, powdered sugar and vanilla. Add just enough milk to get a spreadable glaze. Use a knife to spread across the top of the kanelsnegle.

2 Comments
Judy Halverson
April 14, 2024 at 2:13 pm
These were amazing !! The dough was so velvety. I honestly thought the powdered sugar was mistake, but these were so much nicer than others I have made with granulated sugar. The cardamom added a wonderful flavor. The cinnamon filling was really nice – not so much that it oozed out. These were very easy to make and we don’t need to and buy them from a bakery anymore.
Mathew
December 15, 2024 at 4:40 pm
I used the metric measurements and I think they were perfect- dough was not too dry or too wet.
I might have rolled mine a bit too thin because my filling was spread very thin, and when it baked the filling sort of disappeared.
I’m so impressed with how fresh these stay at room temperature, because they are so moist I think they will go moldy before they go stale!
I will definitely try making these again and experiment with how thin to roll, and the filling etc because I’m looking for something a bit more crisp on the edges and more of a thicker filling.
thank you for posting this recipe!