The Best Kardemummabullar (Swedish Cardamom Buns)
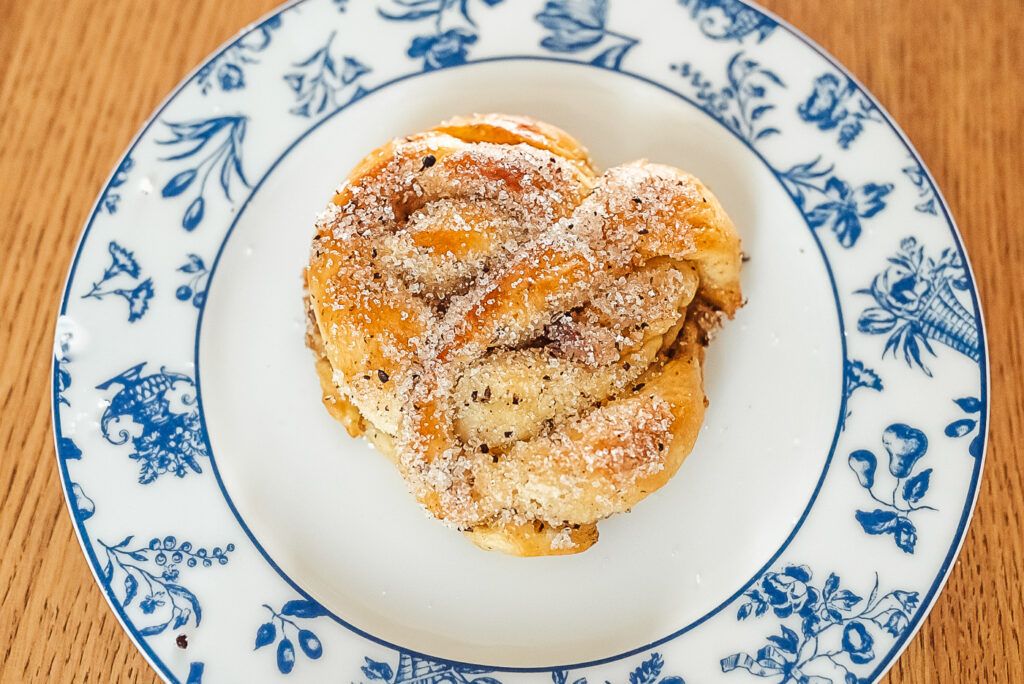
Scandinavians really love using cardamom in baking, as you can see by how often cardamom makes an appearance in my baking recipes here. And while I do love a hint of cardamom in my school bread, cinnamon buns, and sun buns, I also love when cardamom gets to take center stage in Swedish kardemummabullar, or cardamom buns (kardemommeboller in Norwegian).
Cardamom buns are considered the adult version of cinnamon buns here in Scandinavia, though children often love them as well. They’re not quite as common in Norwegian bakeries, but whenever I do see them I order them, as I’m a huge fan of cardamom.
After extensive research I would say Kaffebønne in Tromsø has the best kardemommeboller in Norway, but if I’m allowed to admit this, I think these homemade cardamom buns are even better than the ones at Kaffebønne. But really!
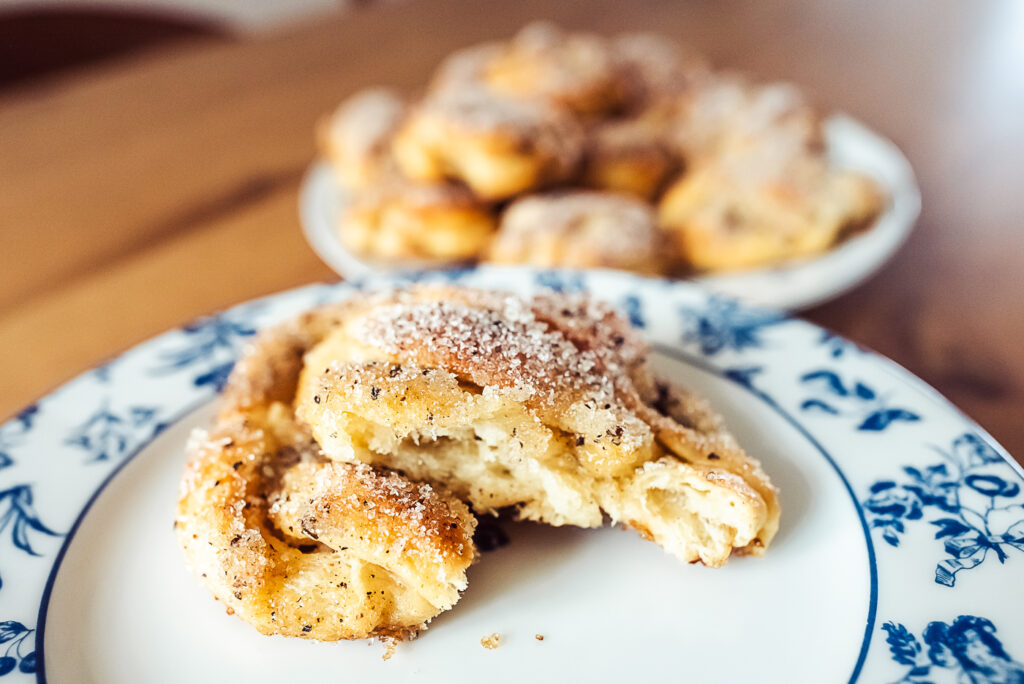
This recipe uses a lot of butter, and I urge you to include all of it – if you need to make cuts, reduce the sugar before reducing the butter.
I also always grind cardamom seeds in a mortar and pestle instead of buying pre ground cardamom. Pre ground cardamom doesn’t have nearly as much flavor, so if you do use it I would add an extra spoonful or two.
I use green cardamom seeds, which are easy to find in supermarkets in Norway. If you can’t find cardamom seeds, you can also buy cardamom pods and remove the seeds yourself, though this is more time consuming. Asian food stores often carry cardamom.
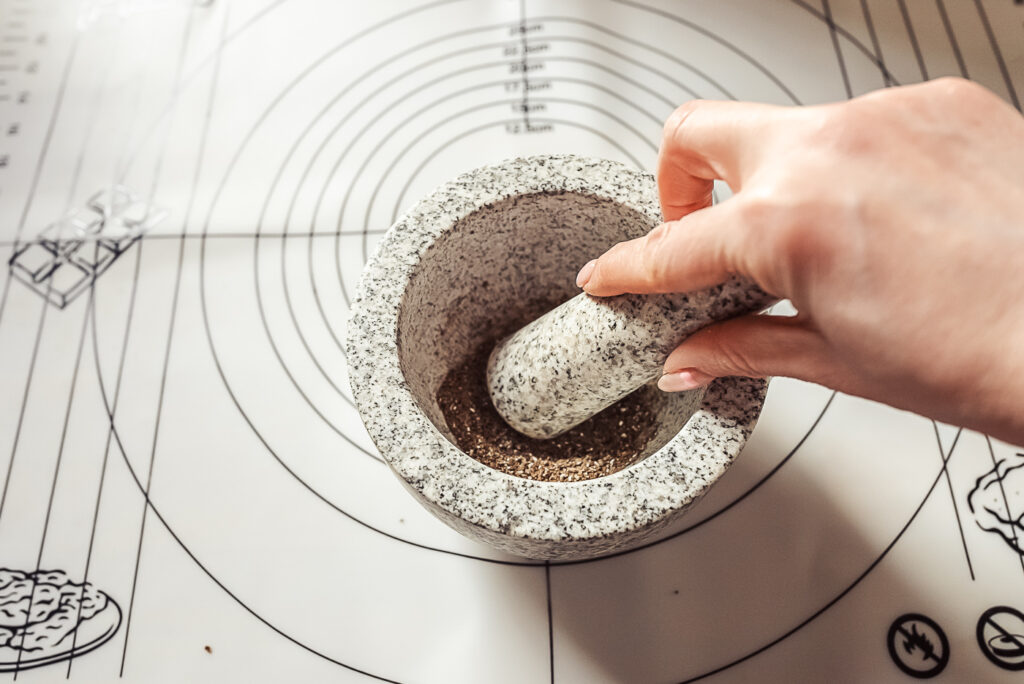
I also like to grind the cardamom quite finely, though this is personal preference.
When making the cardamom filling, if the butter isn’t soft enough you can pop it in the microwave for a few seconds. You want it to be really easy to spread.
Try to use as little flour as possible in the dough – this time I used slightly less than called for in the recipe. It’s best to wait to add the butter until you’ve already kneaded the dough for a bit, as the fats affect the gluten. It’s definitely messier to add the butter later, but you’ll get a nicer dough! You can also add another handful or two of flour after adding the butter if the dough is too greasy to continue kneading.
And be sure to take the time to knead the dough until it’s nice and elastic – about ten minutes, if kneading by hand. I actually really love kneading dough. Put on some music or a podcast and enjoy the process!
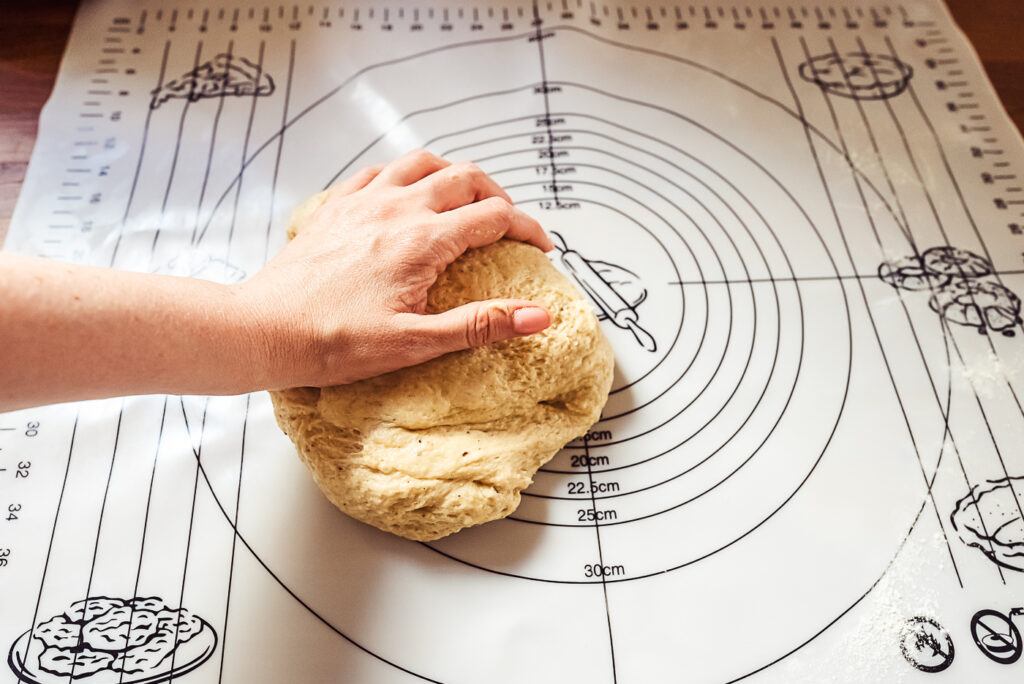
You’re going to roll out the dough and form it into buns before letting it rise. The dough is easier to cut and twist before it has risen because it’s less spongey. But this means that you should make each kardemummabulle quite small, as the buns will double in size when they rise.
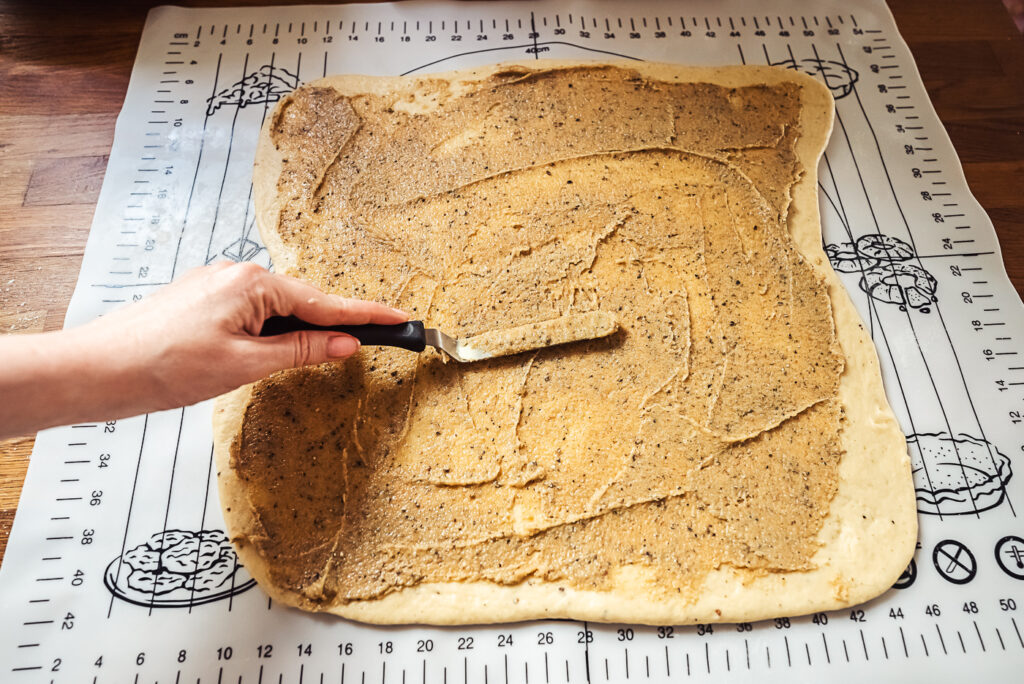
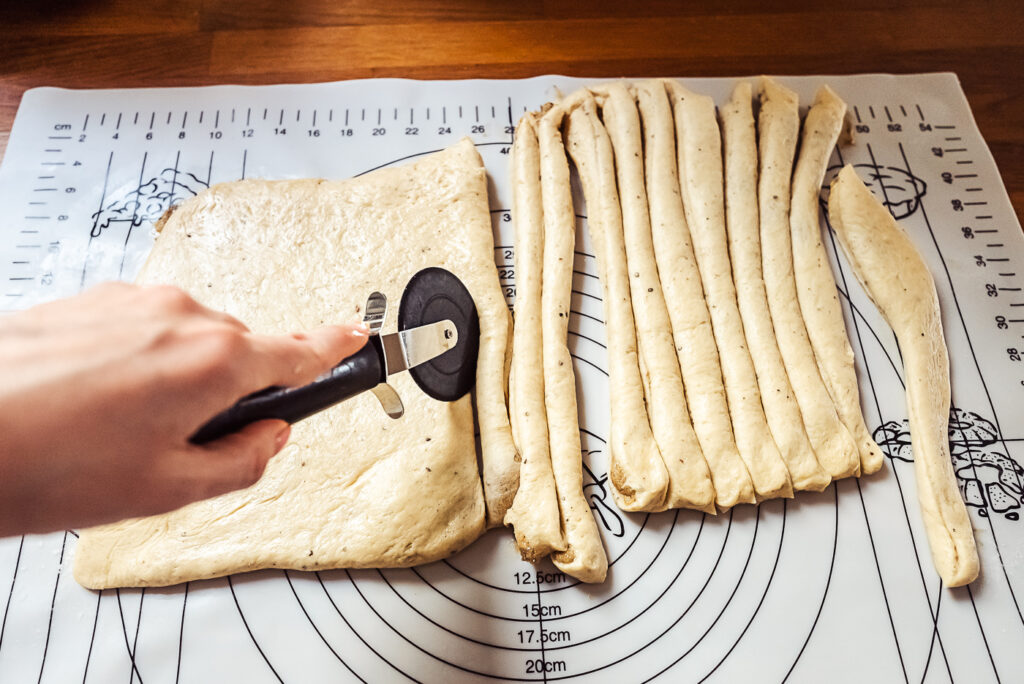
I cut the strips of dough quite skinny (1 cm) as I like small kardemummabollar so I can have them for a snack instead of an entire meal. But if you want really big cardamom buns you can cut thicker strips of dough.
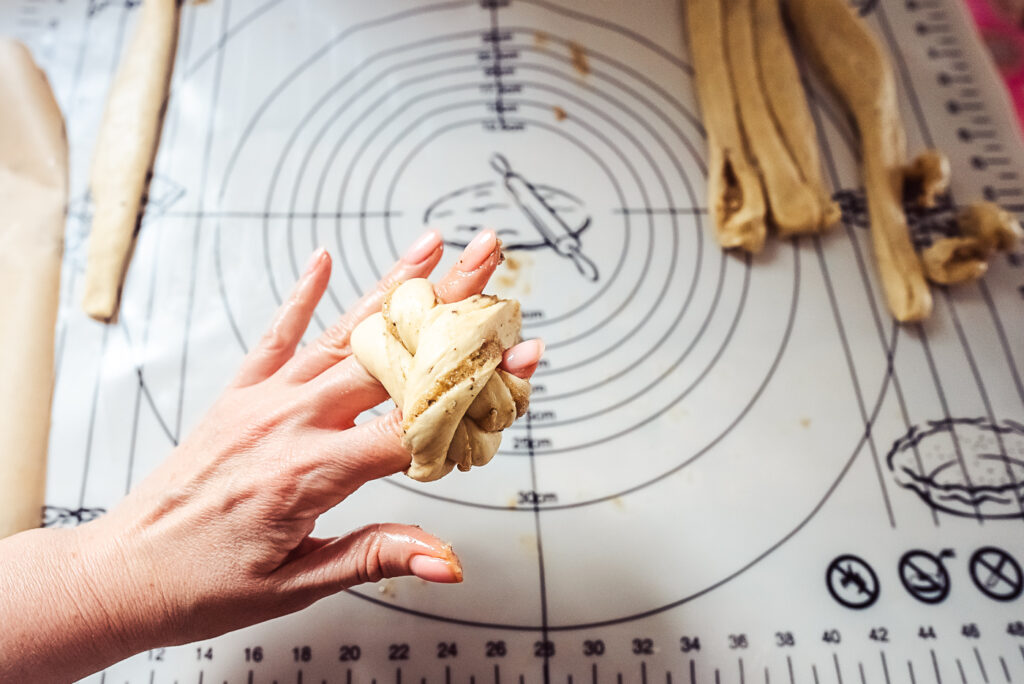
To form the bun, I twist the strip of dough and then wrap it around two of my fingers twice. Then I wrap the end of the strip around the entire bun and tuck it into the bottom, like a knot. You can watch me form the buns in the video in the recipe card below.
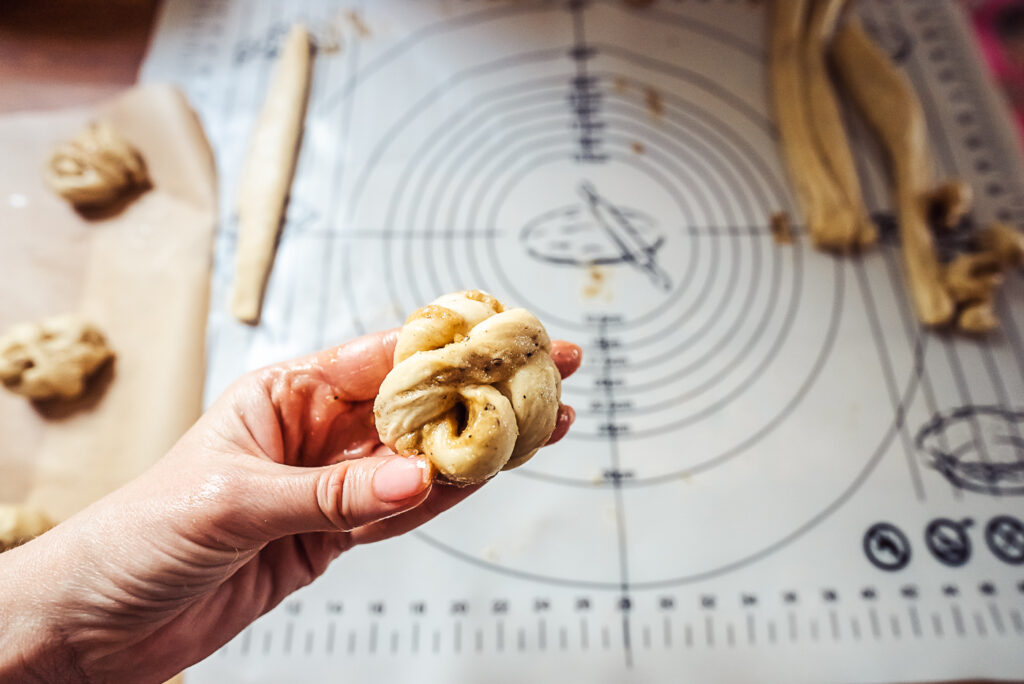
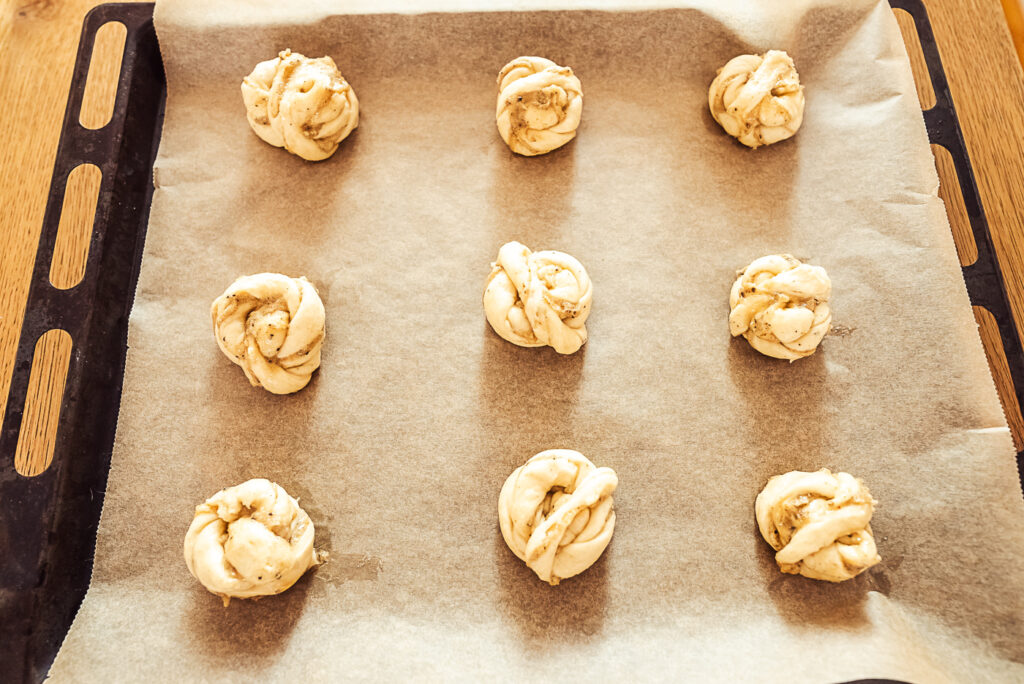
The rising time will vary depending on the conditions in your kitchen. I let mine rise for just over two hours, but they will likely need anywhere between one and three hours. Lightly press the bun with your fingertip, and if the bun bounces back completely it has risen enough.
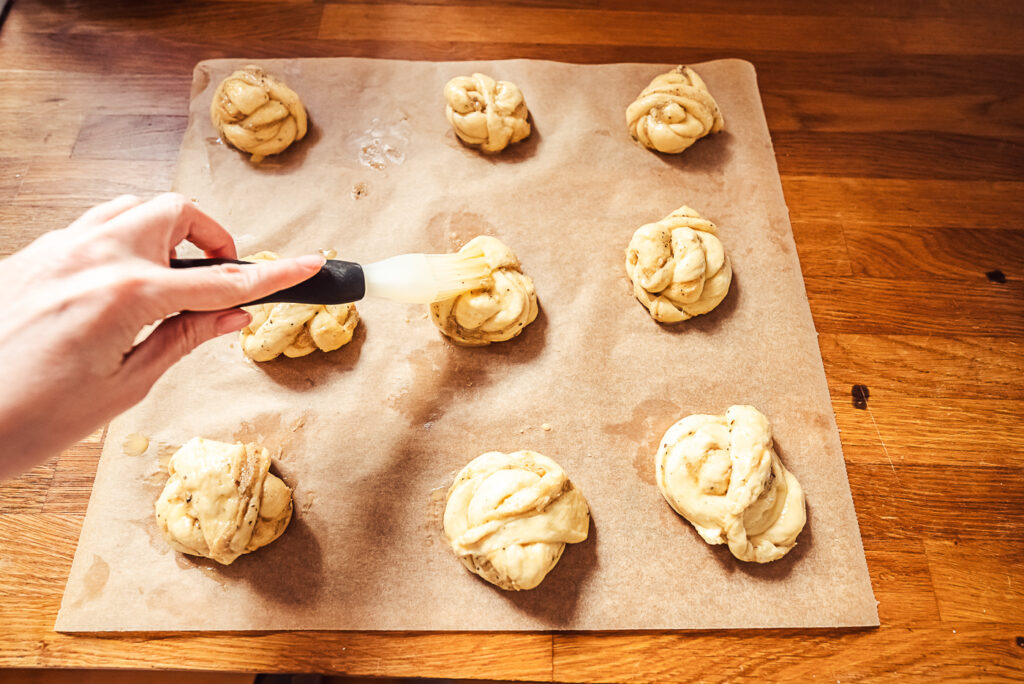
I baked these for exactly 12 minutes, but you might need a bit longer if you’re making bigger cardamom buns. But be sure not to bake these too long, as then they will dry out! If they’re a nice golden brown take them out of the oven, don’t let them bake an extra minute or two “just in case” as those extra minutes could be the difference between perfectly soft, moist cardamom buns and hard, dry buns.
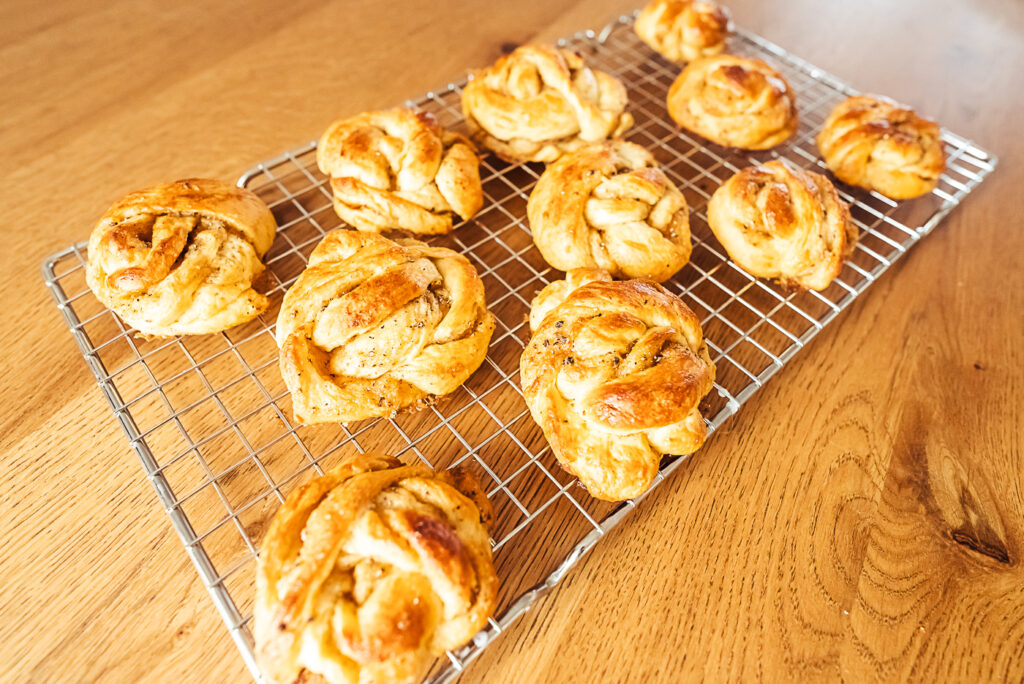
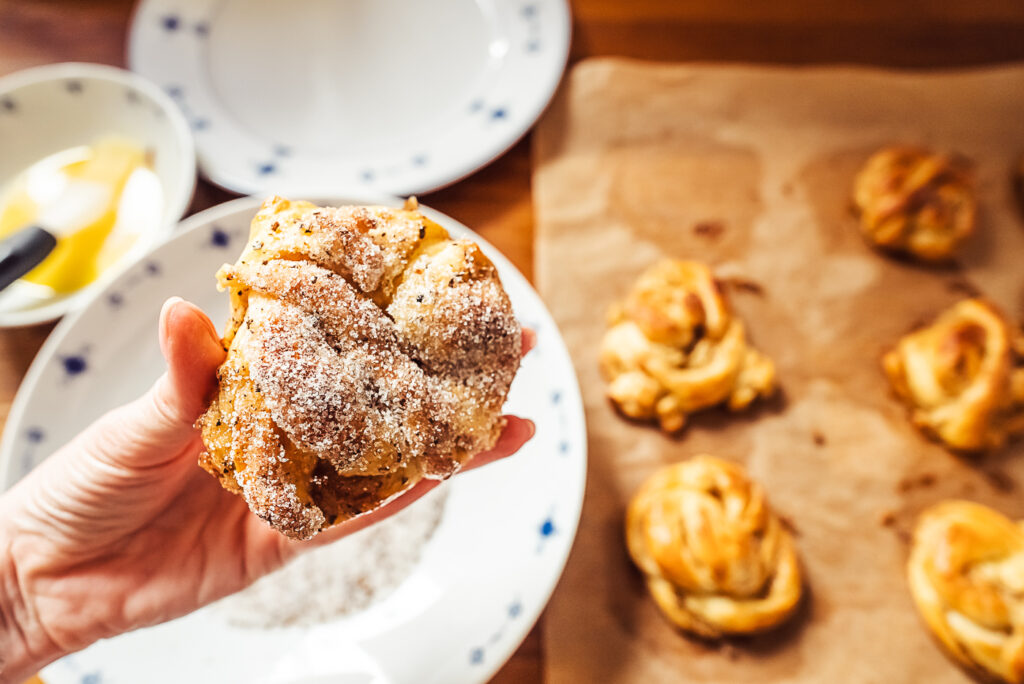
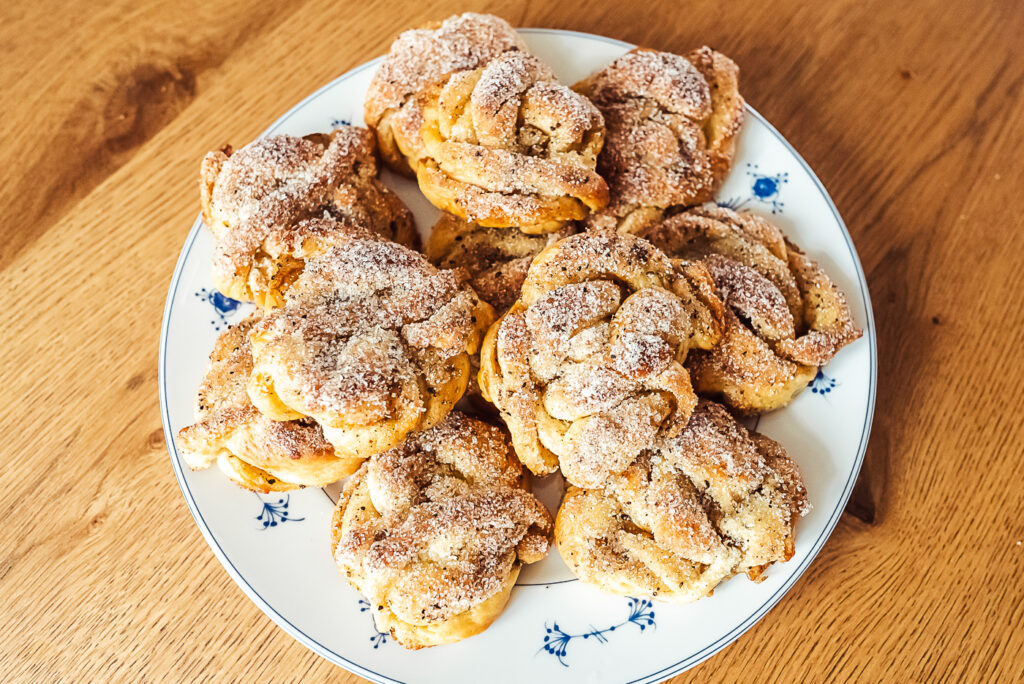
If you like a less sweet bun, you can of course skip the sugar topping at the end – these buns taste delicious without sugar as well. Or instead of dipping the entire bun in the cardamom sugar, you can lightly sprinkle a bit of cardamom sugar on top of the bun.
You can switch the recipe from US measurements to metric by clicking from “US Customary” to “Metric” under Ingredients.
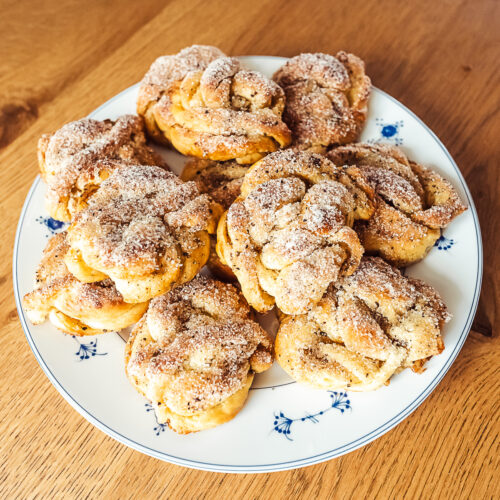
The Best Kardemummabullar (Swedish Cardamom Buns)
Equipment
- Rolling Pin
- pastry/pizza wheel
- mortar and pestal (for grinding cardamom seeds)
Ingredients
Cardamom filling
- 1 tbsp cardamom seeds
- 7 tbsp butter (room temperature)
- 1/4 cup brown sugar
- 1/4 cup granulated sugar
- 2 tsp vanilla sugar (or extract)
Dough
- 1 cup milk (room temperature)
- 1 oz fresh yeast (or 2 tsp instant yeast)
- 1/2 cup granulated sugar
- 1 tsp cardamom seeds
- 1/2 tsp cinnamon
- 3 cups all purpose flour
- 1 tsp salt
- 9 tbsp butter (room temperature)
Decoration
- 50 g butter
- 2 tsp cardamom seeds
- 1/4 cup granulated sugar
Instructions
Cardamom filling
- Grind the cardamom seeds into powder with a mortar and pestle.
- In a small bowl, combine the butter, brown sugar, granulated sugar, vanilla, and cardamom. If the butter isn't soft enough you can pop it in the microwave for a few seconds first.
Dough
- Dissolve the fresh yeast in the milk (if using dry yeast, follow directions on the packet).
- Grind the cardamom seeds into a powder with a mortar and pestle. Add the sugar, cardamom, and cinnamon to the milk and stir until dissolved.
- Add about half of the flour and mix until smooth. Slowly add the rest of the flour and the salt, until you can knead the dough without it sticking (you may need less flour). Knead the dough on a floured surface for about 5 minutes, and then add the butter and continue kneading for another 5 minutes. You may need to add another handful of flour if the dough is too greasy with the butter.
- Roll out the dough into a large square.
- Spread the cardamom filling evenly across the square of dough. Fold the dough in half. Roll the folded dough out again, being careful to smooth out any air pockets.
- Use a pastry or pizza wheel to cut about 20 thin strips out of the dough. Twist each strip and tie into a knot (see video).
- Line baking sheets with baking paper and place each bun on the baking sheets with plenty of space in between. Cover with plastic wrap or a cloth and let rise for about 2 hours, or until the dough completely bounces back when pressed lightly with your finger.
- Preheat oven to 200°C (390°F). Whisk the egg with a splash of water and gently brush onto the top of each bun.
- Bake buns for 12 – 15 minutes in the middle of the oven, until the tops are golden brown.
Decoration
- Melt the butter in a small bowl.
- Grind the cardamom seeds in a mortar and pestle. Combine with the sugar in a shallow bowl.
- Brush each cardamom bun with melted butter and dip in the cardamom sugar mixture.

6 Comments
Mia
October 10, 2023 at 10:13 am
I had the best Kardemummabullar at Kaffebønne in Tromsø as well and was looking to recreate it based off of that. Safe to say- found the best recipe for that!
Alexander
January 16, 2024 at 3:03 pm
Do u mean 800g flour or ml for real?
Silvia
January 16, 2024 at 4:14 pm
800 ml, or 420 grams. Traditional Scandinavian recipes often measure dry ingredients in ml, as measuring cups were more accessible than scales.
Suzanne
June 25, 2024 at 1:25 am
This looks so good! What a great combination of flavors!
Vanessa
June 25, 2024 at 1:25 am
Thanks for sharing! Does it keep long?
Silvia
June 26, 2024 at 11:54 am
They keep for a few days, but I usually freeze them immediately and then defrost them as I want.