Skolebrød (Skoleboller) Norwegian “School Bread” Custard Buns
I almost don’t want to share this skoleboller recipe because I’m pretty sure the main reason my American friends visit me in Norway is to eat skoleboller. And I don’t fault them for that, because skoleboller probably accounted for 90% of my decision to move to Norway.
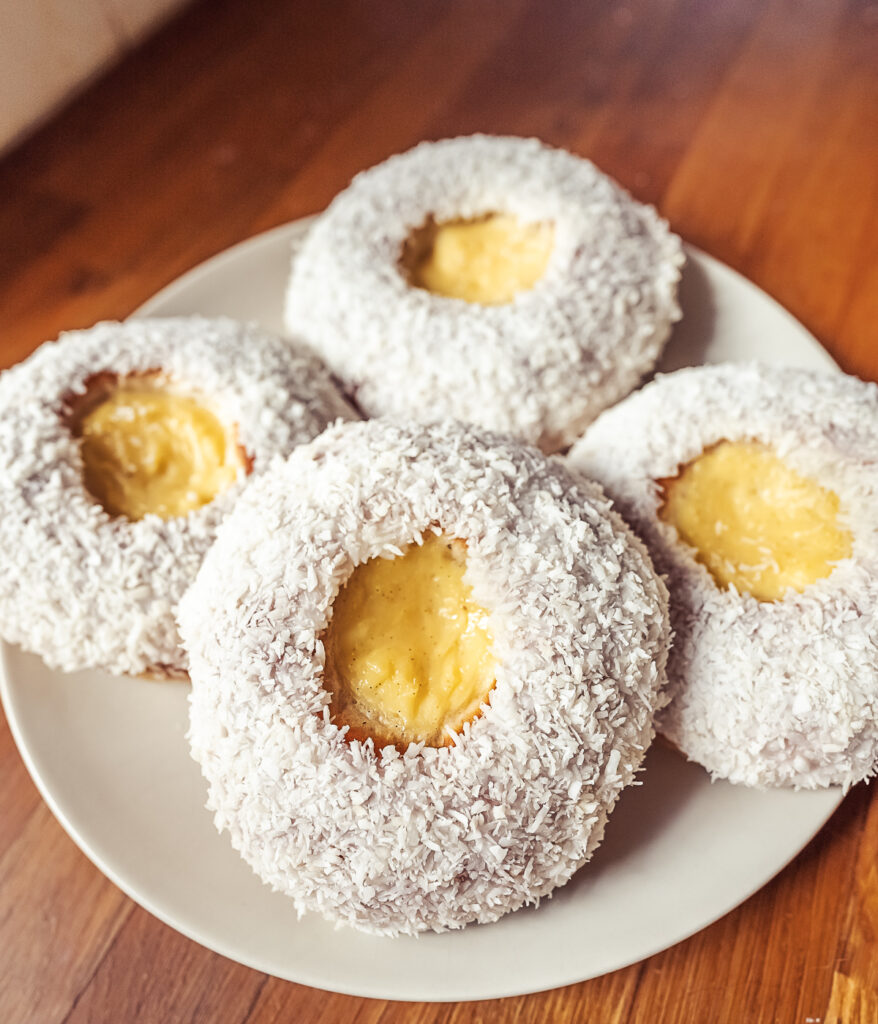
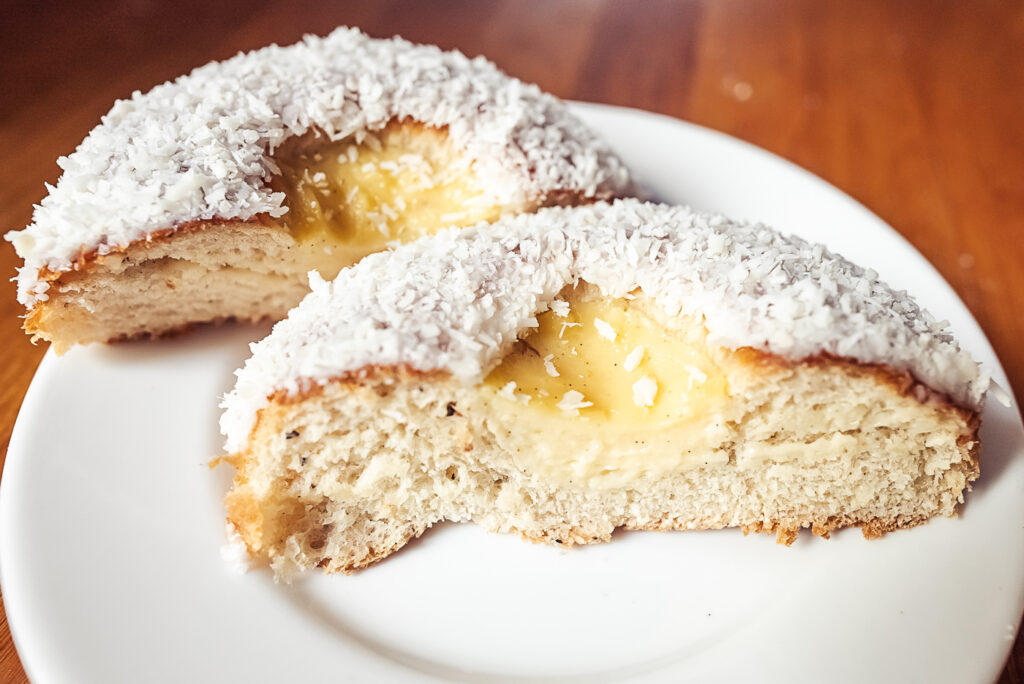
But you can, in fact, make these Norwegian custard buns outside of Norway! Skoleboller (also called skolebrød) are Norwegian “school buns” (or school bread) made with a sweet cardamom dough, filled with vanilla custard in the center, and then coated in icing and dipped in coconut flakes.
These Norwegian coconut and vanilla buns are an instant favorite amongst everyone who tries them – well, as long as they like coconut.
And if you don’t like coconut, try my other favorite Norwegian custard buns: solskinnsboller.
Or if you want a modern version of skolebrød, tall school buns from Lille Betong bakery recently went viral in Norway and I’ve shared the recipe here.

You might also recognize school bread from Walt Disney World! You’ll find an American version of school bread at Epcot’s Norway pavilion at Kringla Bakeri og Café.
When I was growing up, every summer I would be so excited to get to eat skolebrød while visiting family in Norway. And then when I first moved to Norway I worked in the bakery section of a supermarket for a year, where I would make skoleboller every morning.
And I’m not even exaggerating when I tell you I felt like I truly had made it in life living in Norway getting paid to bake Norwegian boller. I no longer work in a Norwegian bakery so I don’t get paid to make skoleboller anymore, but I am very excited to get to share my Norwegian school buns recipe here!
I’ve also made a detailed video showing you exactly how to make skolebrød:
Tips
You’ll start off by heating the milk until it’s lukewarm. Then dissolve the yeast into the milk.
In Norway I usually use fresh yeast to make skoleboller dough, simply because it’s more commonly used here than dry yeast. But when I make these in the US I use instant yeast and they turn out the same, so you can use whichever you are most comfortable with or have available.
However, if you use active dry yeast, be sure to follow the instructions on the packet and proof the yeast before adding it to the other ingredients.
Then add the sugar and cardamom to the milk mixture.
One of the key ingredients in most Norwegian sweet buns is cardamom. And well, if you’ve seen my other Scandinavian recipes you probably already know what I’m going to say about the cardamom here.
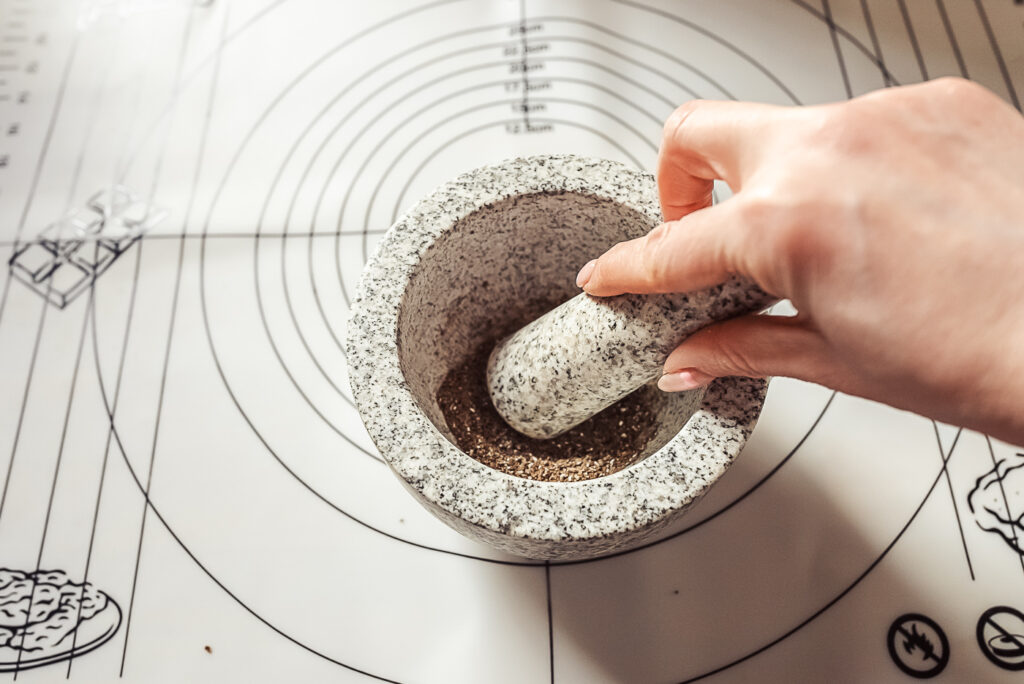
You can use ground cardamom for this recipe, but if you have a mortar and pestal I highly recommend grinding cardamom seeds instead, as freshly ground seeds are much more flavorful. I wouldn’t bother unless it really made a difference, but it really does.
Pre ground cardamom doesn’t have much flavor, so if you do use it, I would probably double the amount of cardamom.
Next you’ll add the vanilla and about 2/3 of the flour to the mixture. Mix the dough together either by hand or in a mixer with a dough hook, slowly adding the rest of the flour. You might need a bit more or less flour to form dough that isn’t too sticky to knead.
When the dough forms a nice ball, add the softened butter and continue to knead the dough for about ten minutes. I always do this by hand, so don’t worry if you don’t have a mixer to knead the dough. Put on some music and enjoy kneading!
Now you can let the dough rise, and in the meantime you can make the vanila custard for the center of the skolebrød. Alternatively you can use pre-made vanilla pudding.
Making the vanilla custard from scratch might seem intimidating, but it’s actually pretty easy. Just make sure that you keep whisking the custard the entire time you’re heating it so there aren’t any lumps.
Heat the milk and half of the sugar in a saucepan over medium heat. Split open the vanilla pod with a knife and carefully scrape out the seeds, adding them to the saucepan.
And in a separate bowl, mix together the rest of the sugar and the corn starch. Add the egg yolks and whisk it all together until it’s nice and smooth.
Once the milk starts to bubble in the saucepan, pour about half of it into the bowl with the egg mixture, whisking the entire time. Then return the saucepan to the heat and pour the egg and milk mixture from the bowl back into the saucepan, whisking the whole time.
Let the custard cook for 2 minutes, whisking the entire time. By the end it should be quite thick and harder to whisk.
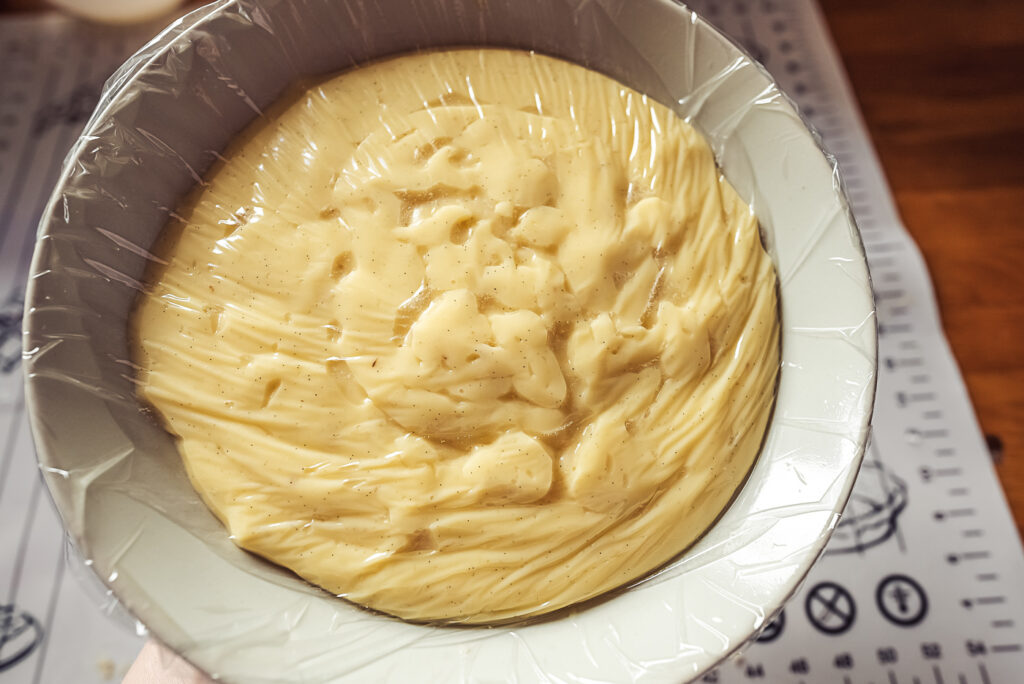
Once the 2 minutes are up, remove the custard from the heat and pour it into a clean bowl. Cover with plastic wrap, placing it directly touching the top of the custard. Let the custard cool while the skoleboller dough finishes rising.
This recipe does make about twice as much vanilla custard as you’ll likely use, so you can be as generous as you like when filling the skoleboller. The custard also tastes delicious on its own, so I save the rest to eat as a little dessert.
You can prepare the vanilla custard before making the buns, or while the skolebrød dough is rising. If you make it while the dough is rising, it will probably still be a little warm when you’re spooning it onto the buns, but that’s totally fine.
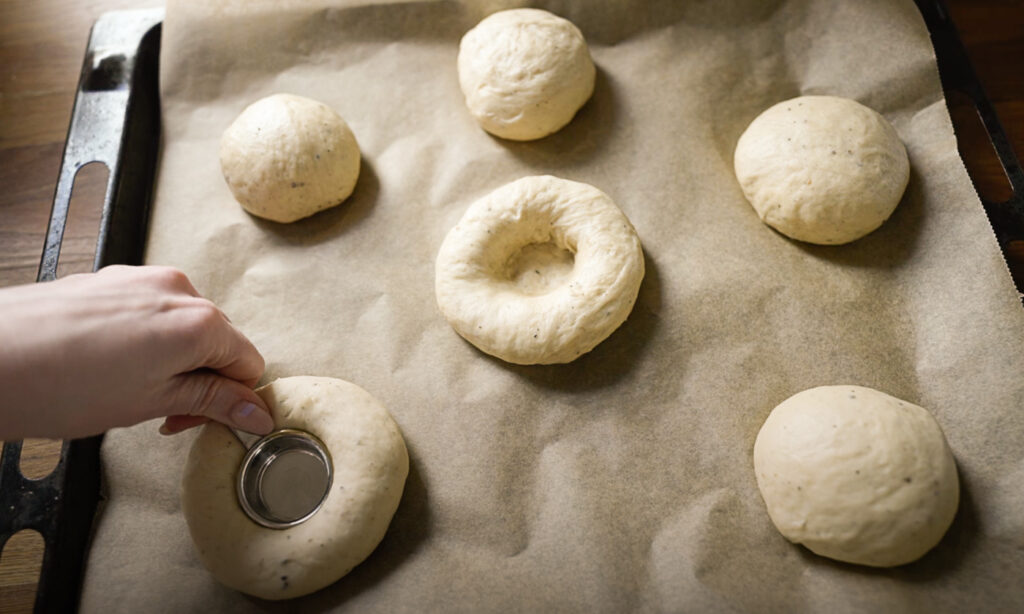
When making indents for the vanilla custard in the buns, you need to really push down to the bottom of the bun. I start off making an indent with the back of a measuring spoon, and then I continue pressing the dough down with my fingers shaping it into a little cup (see video below). This ensures that even when the dough rises again there’s still space left for the custard.
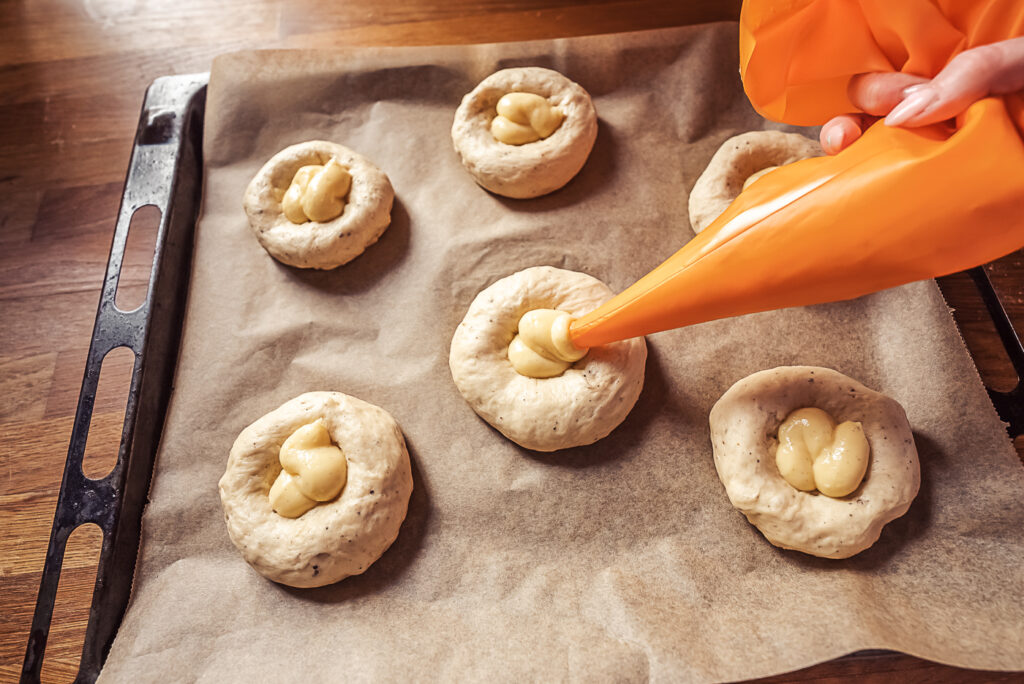
I use a piping bag for the vanilla custard, mostly because I like to pretend I’m a pastry chef, but you can just as well spoon out the custard with a couple of teaspoons.
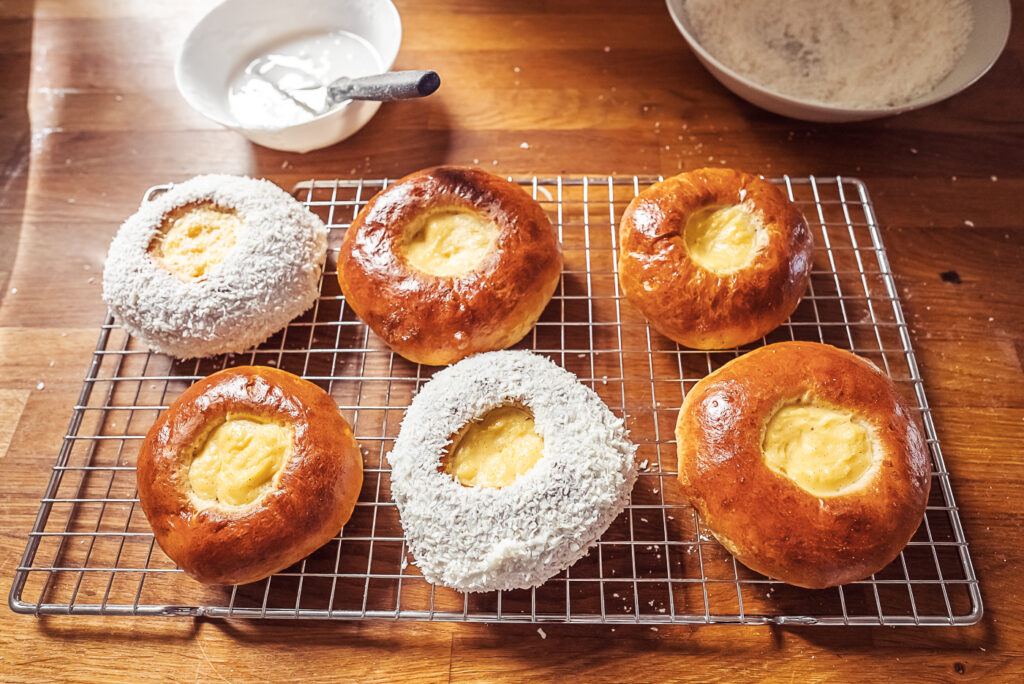
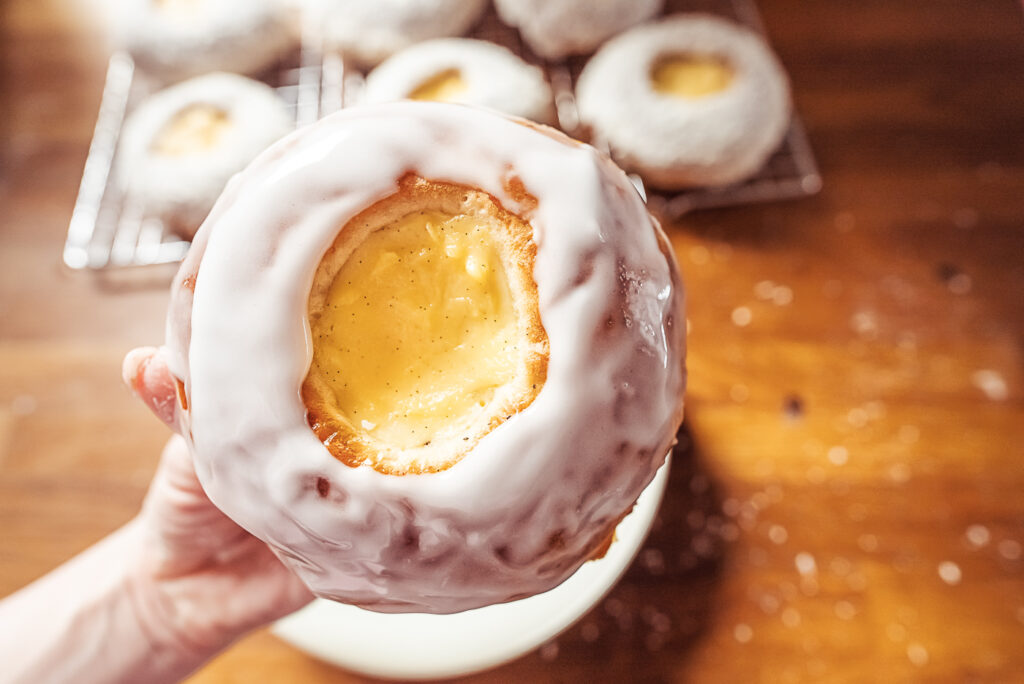
You can coat the skoleboller with as much icing as you like, and then simply press the bun down in a bowl of coconut flakes. The coconut won’t really stick to the vanilla center, so you can go ahead and press the whole bun flat into the coconut.
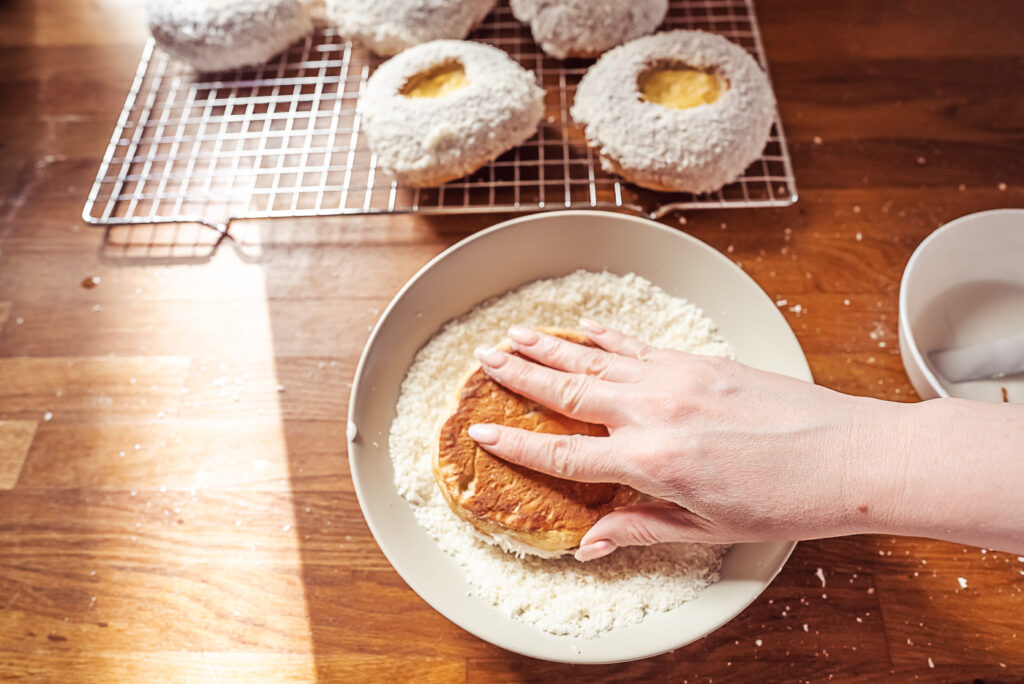
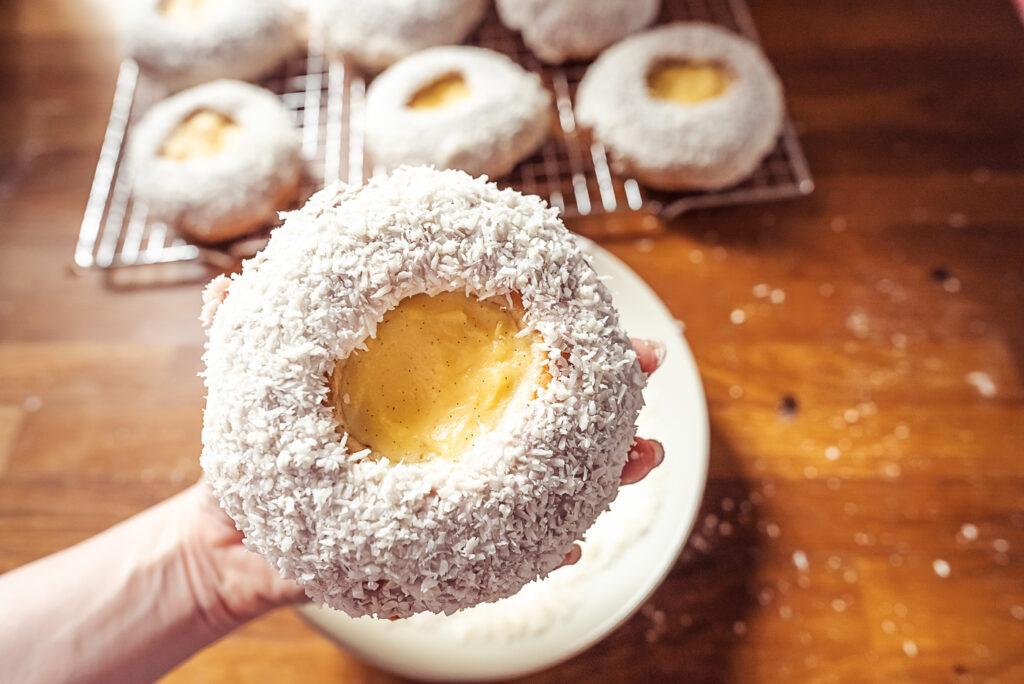
I gave this batch of skoleboller away to my neighbors, and now I’m regretting not saving a few more for myself. They’re so good!
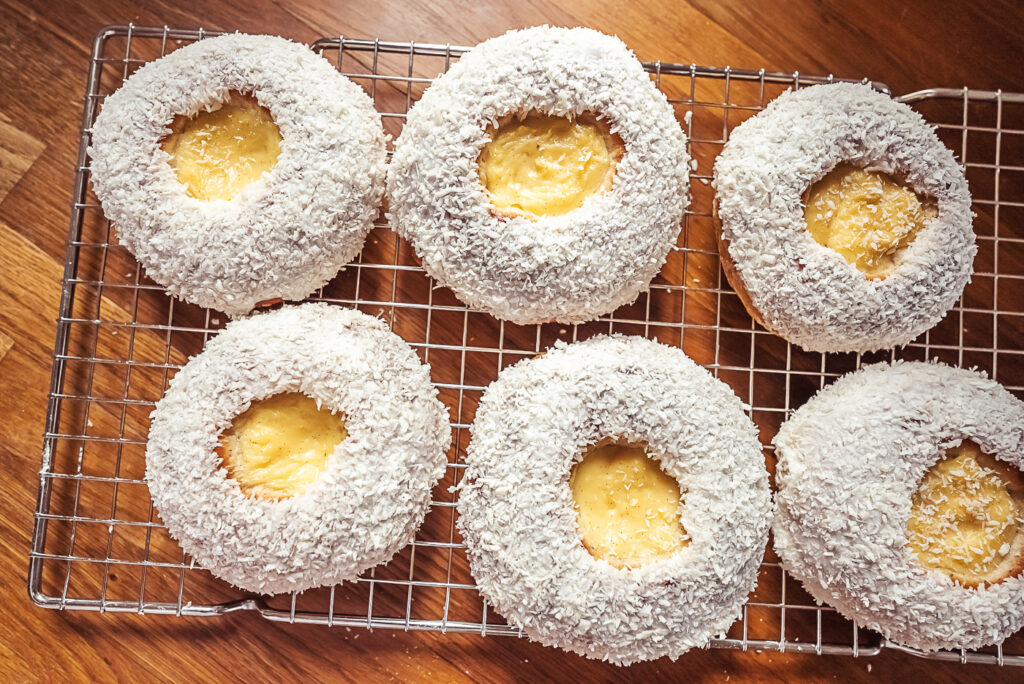
If you have leftovers the next day, my little tip would be to pop these in the microwave for just a few seconds so that the icing gets a tiny bit warm (but not totally melted) and the bun softens a bit.
You can switch the recipe from US measurements to metric by clicking from “US Customary” to “Metric” under Ingredients.
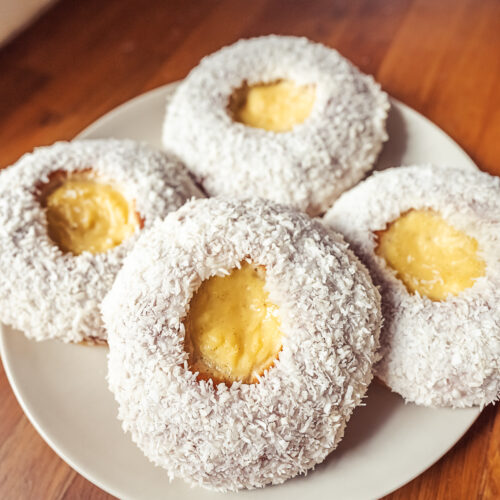
Skoleboller (Skolebrød) Norwegian “School Bread”
Equipment
- piping bag (optional)
Ingredients
Skoleboller dough
- 1.5 cups milk
- 4 tsp instant yeast (or 50 g fresh yeast)
- 0.5 cup granulated sugar
- 2 tsp ground cardamom
- 1 tsp vanilla sugar (or vanilla extract)
- 5 cups flour
- 7 tbsp butter (softened)
Vanilla custard
- 1 and 1/4 cups milk
- 1/3 cup granulated sugar
- 3 egg yolks
- 2 tbsp corn starch
- 1 vanilla pod
Decoration
- 1 egg (whisked for egg wash)
- 1.75 cups powdered sugar
- 2-3 tbsp water
- 1 cup shredded coconut
Instructions
Skoleboller dough
- Heat the milk until it's lukewarm. Add the yeast and dissolve.
- Add the sugar, cardamom, vanilla, and about 2/3 of the flour.
- Mix the dough together either by hand or in a mixer with a dough hook, slowly adding the rest of the flour. You might need a bit more or less flour to form dough that isn't too sticky to knead. When the dough forms a nice ball, add the softened butter and continue to knead the dough for about ten minutes.
- Cover and let rise until doubled in size (about one hour).
Vanilla custard
- Heat the milk and half of the sugar in a saucepan. Split open the vanilla pod with a knife and carefully scrape out the seeds and add them to the milk.
- Mix together the rest of the sugar and the corn starch in a bowl. Add the egg yolks and whisk together until smooth.
- Once the milk mixture starts to bubble pour about half of it into the bowl with the egg mixture, whisking quickly the entire time. Then return the saucepan to the heat and pour the egg and milk mixture from the bowl back into the saucepan, whisking the whole time. Let the custard cook for 2 minutes, whisking the entire time. By the end it should be quite thick and harder to whisk.
- After 2 minutes remove the custard from the heat and pour into a clean bowl. Cover with plastic wrap, placing it directly touching the top of the custard. Let the custard cool while the skoleboller dough finishes rising.
Assembly
- After the dough has risen, turn it out onto your counter and roll into a long cylinder. Cut it into about 12 – 15 even slices. Roll each slice into a round ball and place them all on baking sheets lined with baking paper. Make sure to leave plenty of space between the buns, as they'll grow in the oven.
- Use the back of a measuring spoon and/or your fingers to press down a good well in each bun. Be sure to press the dough all the way down and make a bigger well than you'll actually need, as the dough will puff back up a bit in the oven.
- Use a piping bag or spoons to place vanilla custard in the well of each bun (about 1 – 2 tbsp of custard). Cover with plastic wrap and let rise again for 30 minutes.
- Preheat oven to 410°F (210°C) top/bottom heat. Whisk egg (you can add a splash of milk if you like) and gently brush each bun with egg wash. Bake for about 10 – 14 minutes in the middle of the oven, until golden brown.
Decoration
- Slowly add water to powdered sugar and stir until you get a thick icing. Pour shredded coconut out onto a shallow bowl or plate.
- Once the buns are cooled, spread the icing over the top of the skoleboller, around the custard center. Then dip the bun in the coconut, pressing flat to coat the entire top.
28 Comments
Mia
May 4, 2023 at 2:13 pm
Loved these! Real authentic Norwegian skolebrod.
Katherine
August 2, 2023 at 12:22 pm
This tasted exactly like the skolebrod my family ate on our visit to Norway! Fun to be able to make it at home. I used vanilla extract instead of a vanilla pod and it tasted great.
Tina
October 29, 2023 at 11:28 am
Great!
Anya Rombakh
December 23, 2023 at 3:43 am
Great recipe but directions missing addition of cardamom
Second instruction
April 2, 2024 at 2:01 pm
“Add the sugar, cardamom, baking powder, vanilla, and about 2/3 of the flour.”
Sharon aman
February 21, 2024 at 11:06 pm
Where can I buy cardamon?
Karen
April 17, 2024 at 3:17 pm
Trying these today! I found wonderful cardamom seeds from burlap and barrel that I’ve crushed with my mortar and pestle, as you suggested.
Emily
November 16, 2024 at 5:31 pm
How to store and how long do they keep?
Wendy
February 22, 2025 at 5:32 am
I found it at Safeway, mc cormac brand. On sale for $8.77
Kara
August 29, 2024 at 6:37 pm
Definitely making these next week! One question, what’s the reason for the baking powder in addition to the yeast? Is it to provide a bit of extra lift?
Silvia
September 4, 2024 at 1:53 pm
Yes!
Kara
October 16, 2024 at 8:58 am
I made them and they were super yummy! The only thing I kinda failed at, was making a big enough gap for the custard. By the time they’d proved and baked, the custard was probably the size of a bottle gap.
Next time I’ll be braver about making the gap bigger before adding the custard 😀
Diane Weyer
December 17, 2024 at 8:59 pm
I don’t see the baking powder in the list of ingredients. How much do you add?
Silvia
December 18, 2024 at 6:50 am
I’ve updated the recipe and no longer use baking powder.
Hayley
October 7, 2024 at 5:00 pm
Have you ever froze these (cooked or dough) to have some for later?
I’m so excited to try this recipe! Looks delicious!!
Silvia
October 9, 2024 at 7:33 am
Yes, I’ve frozen both the dough, filled with vanilla cream, and I’ve filled the cooked buns as well. Ideally you would freeze these before decorating with icing and coconut, but I’ve frozen the decorated buns as well before and they turn out fine – the icing just gets a little crispy if you reheat them in the oven.
Kate
October 20, 2024 at 10:05 am
Like many people, I was inspired to make school bread after a trip to Disney World but these taste even better! Your illustrations made the recipe so easy to follow and they turned out great. The whole family loved them.
I did have a question about storage though. Once made, do they need to be kept in the refrigerator or can they be left at room temperature? Thanks again for the fantastic recipe.
Silvia
October 20, 2024 at 1:49 pm
Yes, if you’re not eating these the same day I recommend you store these in the fridge. And then ideally they should be served at room temperature, so either take them out a bit early or pop them in the microwave for a few seconds.
M
October 23, 2024 at 6:14 pm
It is not too much yeast? 50 g is a lot
Silvia
November 5, 2024 at 10:08 am
50 g of fresh yeast is standard for this many buns! You might be confusing it with instant yeast? Use 4 tsp of instant yeast.
Luke
December 30, 2024 at 8:44 pm
These look so good!!!
One question: can you make the dough and let it sit overnight? Or do you have to just make the buns all in one go?
Thanks!
Silvia
January 2, 2025 at 9:05 am
Yes you can make the dough and leave it in the fridge over night, before the second rise.
Max
January 14, 2025 at 6:47 am
Is the baking temperature too high?
Silvia
January 14, 2025 at 3:26 pm
This is the temperature I always use, but if your oven runs hot you could reduce the temperature.
Clémence
March 29, 2025 at 7:43 pm
Delicious! Just like in Norway (we’re French and we’ve been there three times already!) Thank you for sharing!!!
Cheche
April 11, 2025 at 8:08 pm
I LOVE THESE. I did one modification that I would recommend—the icing glaze! I hate simple powdered sugar and water mixture. Instead, I mixed powdered sugar with a small amount of water with melted butter and a bit of vanilla extract. I think it really made a difference. Also I think my flour was a bit heavy on the buns, so I might add a bit less next time and/or add a small amount of baking powder. They were delicious and I am surely making them in the future! Thanks so much for the recipe!
Jen
August 16, 2025 at 3:47 pm
I recently tried a skolebrod at a bakery in the Central S in Oslo and fell in love. This recipe is excellent and very close to the one I had! I made a few alterations: used bread flour instead of all purpose; and osmotoletant yeast for a chewier and fluffier bun. I also did the first rise in the refrigerator overnight which worked out well for scheduling. Next time I will reduce cardoman in half.
Jenny
January 23, 2026 at 1:12 pm
Printed recipe mistake!
I made the recipe following your video, and it was phenomenal. Then, tried it with the printed version. The Custard section of the written/printed recipe only has 3 egg yolks- not mentioning the one full egg. The custard definitely came out different this way. Just wanted to give a heads up to change that as this is a keeper recipe for sure (and so authentic to the skoleboller I grew up with!