Classic Norwegian Kransekake
I’ve shared recipes for most of my favorite Norwegian cakes, including suksessterte, fyrstekake, and the world’s best cake. So of course I also had to share a recipe for Norway’s favorite celebratory cake, kransekake, which you’ll see here at Christmas, Norwegian weddings, and other celebrations. Kransekake, or “wreath cake,” is a tower of 18 chewy almond cookie rings made of just three ingredients: ground almonds, powdered sugar, and egg whites.
You can find all of my Scandinavian Christmas recipes here.
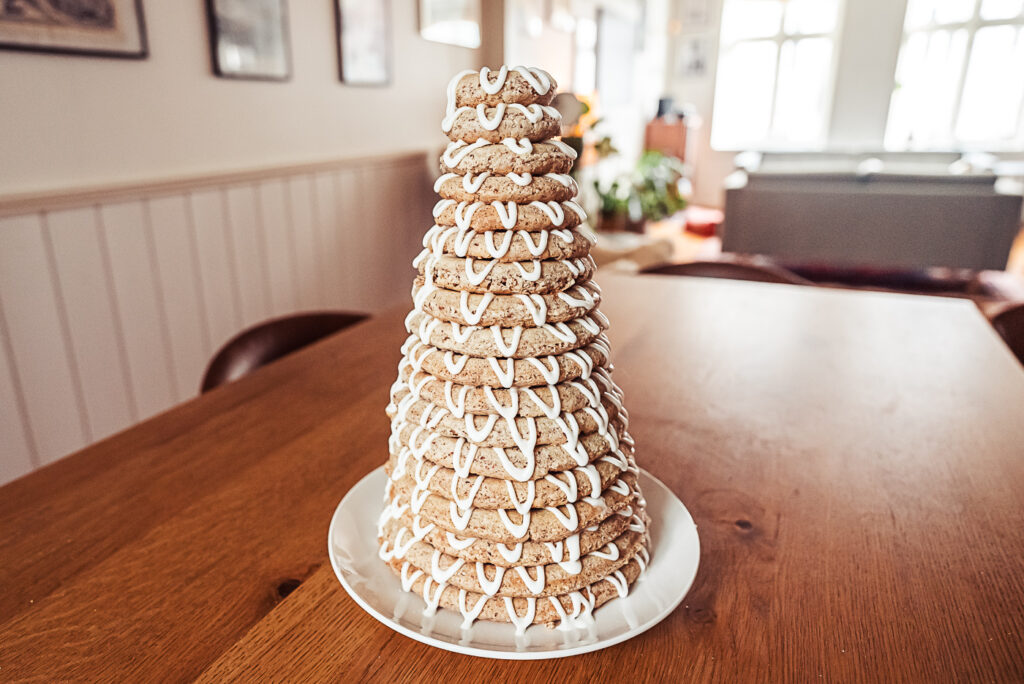
It was cold and rainy here in Bergen over the weekend, which was perfect weather for baking. I actually hadn’t planned on making a kransekake this week, because while delicious, kransekake also is a lot of work to make. It’s not surprising Norwegians save this cake for special occasions.
But then while compiling recipes for my blog post about the best Norwegian desserts, I was dismayed to see that almost every kransekake recipe I found in English called for almond flour. If you are Norwegian you will understand my horror. Almond flour in kransekake! Nei, nei, nei, nei, nei (no, no, no, no, no).
So I pulled out my kransekake forms and almond grinder and set out to show the English reading Internet how to make an authentic Norwegian kransekake.
My mother used to make kransekake every Christmas and 17th and May, so now whenever I eat it I immediately feel like I’m celebrating. And I mean, I am celebrating how delicious it is! It’s also a fun way to bring something Norwegian to your celebration, whether it be a birthday, Thanksgiving, Christmas, or other special occasions.
Tips
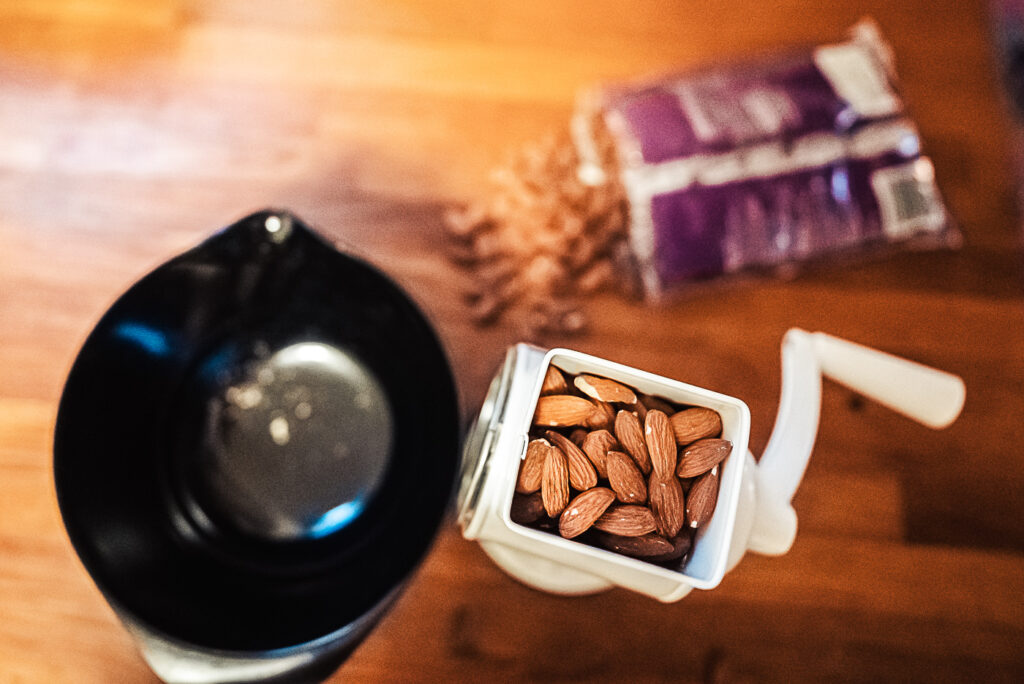
You can use a food processor to grind the almonds if you don’t have an almond grinder. Just be careful not to overdo it – the almonds should still be a bit coarse – and certainly not as fine as almond flour.
Some Norwegians will scald the almonds, or sometimes only half of the almonds, first, but my family always leaves the skins on.
Separate three eggs into yolk and egg whites and then knead the three egg whites and powdered sugar into the ground almonds.
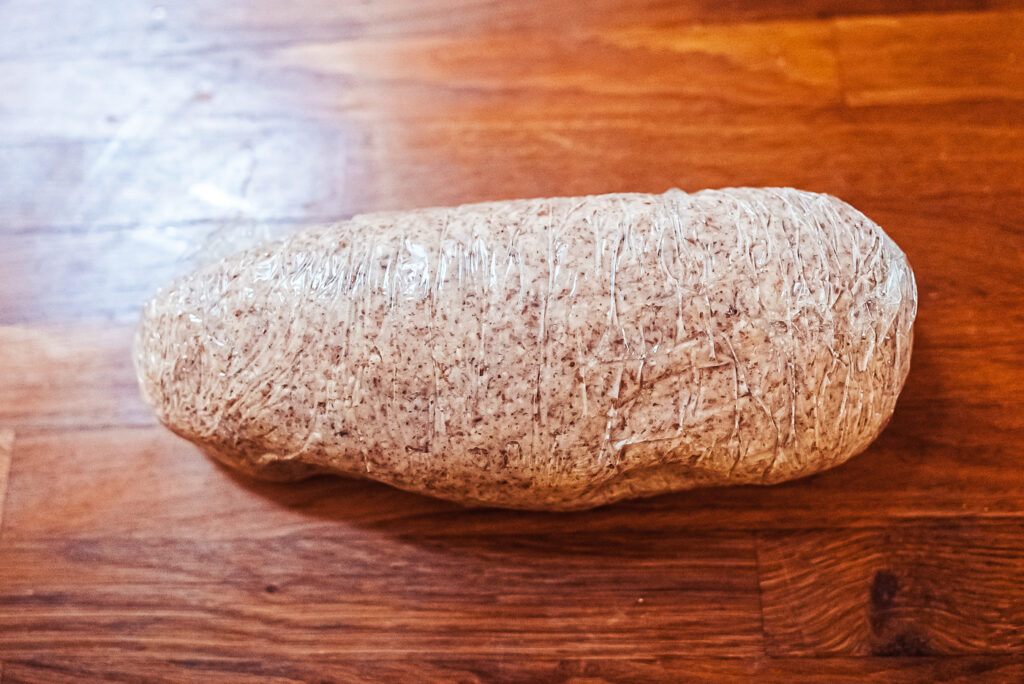
I usually always wrap the kransekake dough in cling film and leave it in the fridge over night, but if you don’t have time you could leave it for at least an hour instead. Don’t skip this step!
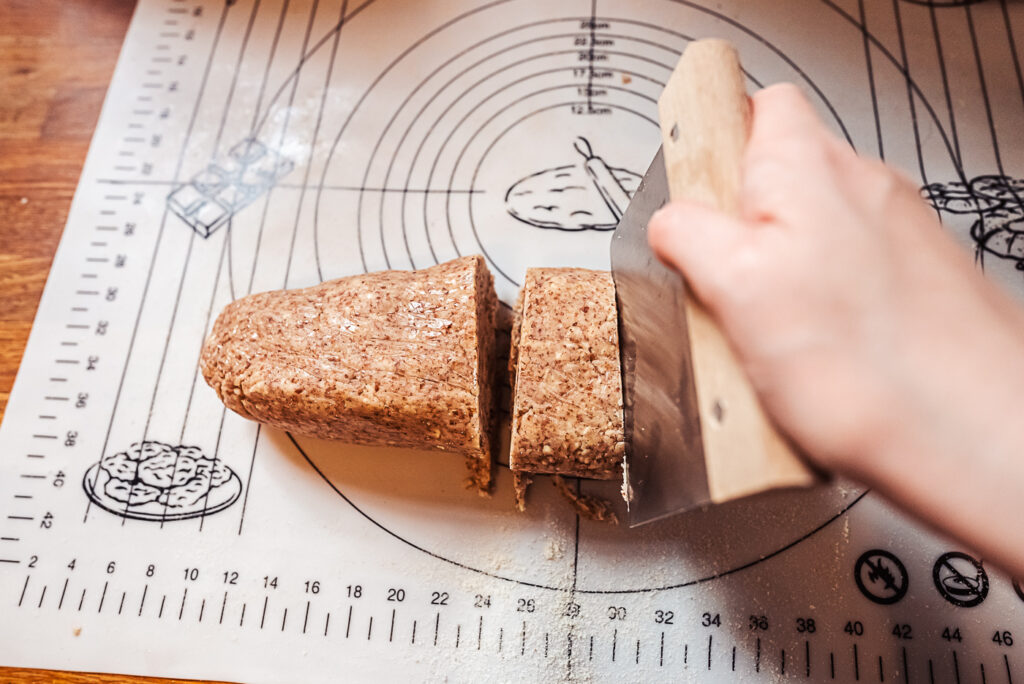
If this is your first time making kransekake, it can be tricky to know how thick to make each ring. If you make them too thick you risk running out of dough, and the rings will expand and possibly melt together with the rings next to them. To avoid this, I divide the dough into six sections, so I know roughly how much dough I have for each form (though the forms are of course different sizes, so this isn’t exact.
Then I add a bit of egg white to each section of dough before rolling it out. I keep the egg white in a small bowl and will dip my fingers in it to add more egg white to the dough. You’ll need to warm up the dough a bit with your hands as you incorporate the egg white so it’s easier to roll out.
If the dough crumbles as you roll it, work it some more with your hands and possibly add a bit more egg white. The dough will be a bit crumbly, but as you knead it will become easier to work with.
When I was growing up my mom would usually have me roll out the kransekake rings because it’s kind of tedious work but also fun for kids – like playing with play-doh.
The rings will puff out quite a bit in the oven, so you can make them thinner than you think – this will also keep them from melting into each other. But if they’re too thin the kransekake can become hard and dry in the oven. You want the edges to be crispy and the center a bit chewy.
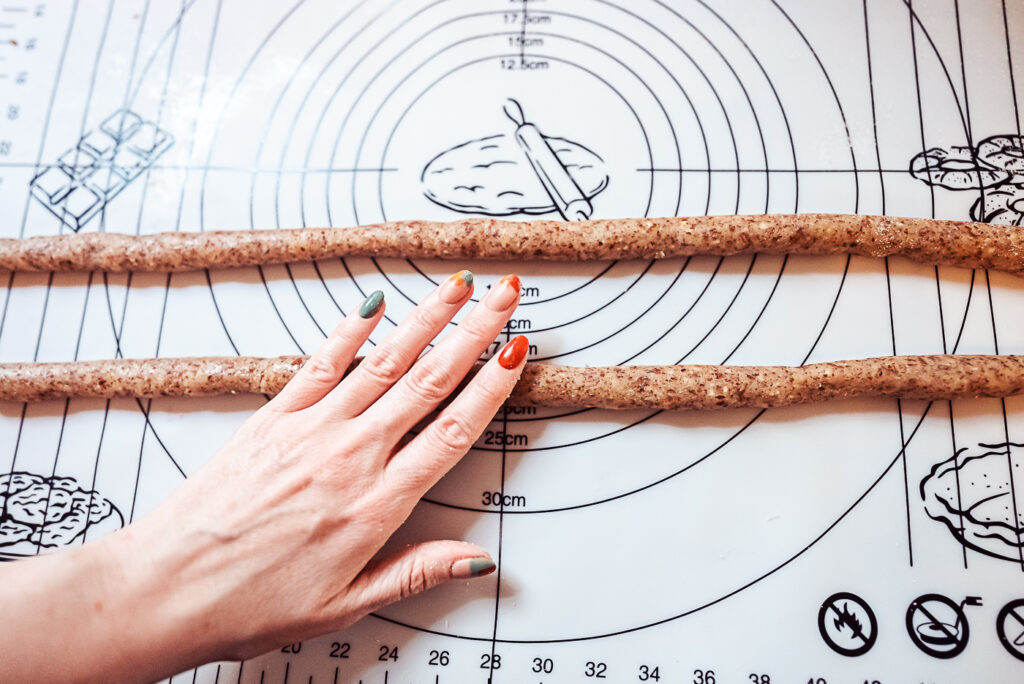
It’s also crucial to grease the kransekake forms really well. I coat mine in grease and then add semolina, but if you don’t have semolina you can coat them in flour or breadcrumbs instead. Make sure the entire form is well coated, as otherwise the kransekake will stick to the form and break when you remove it. This might just be the single most important step when making kransekake!
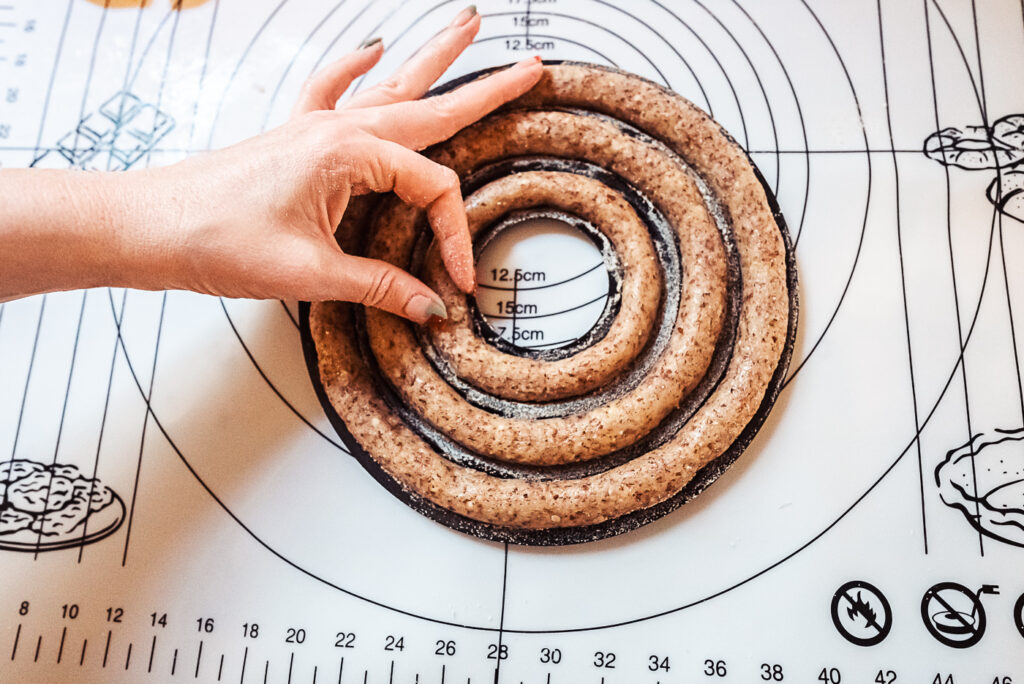
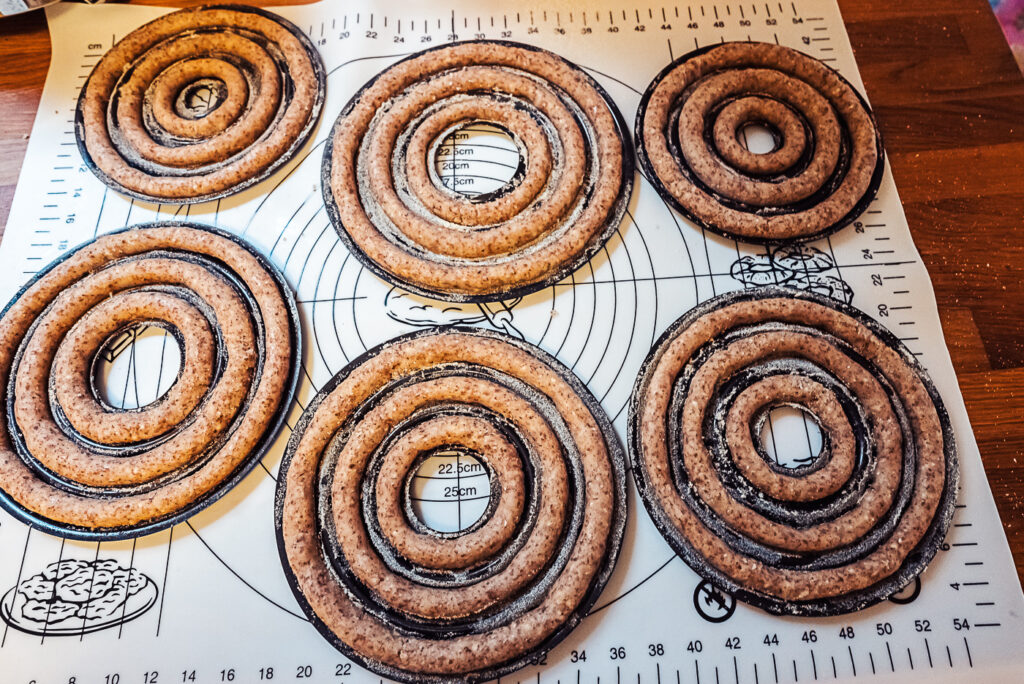
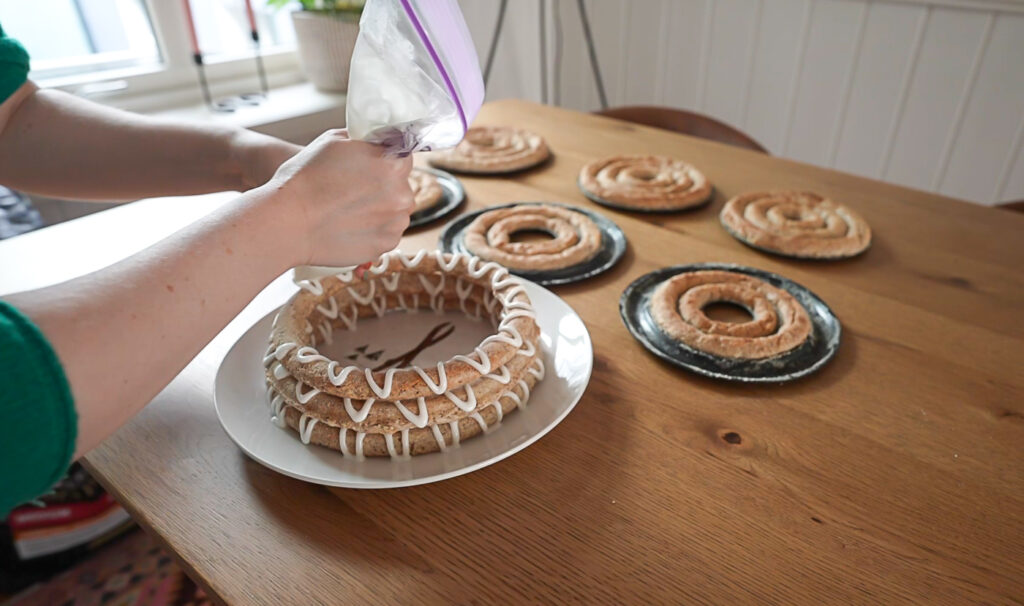
When assembling the kransekake, I lay out the forms in order of largest to smallest. The kransekake rings might look puffy and cracked, but the bottom side should be smooth, so they will look good once stacked.
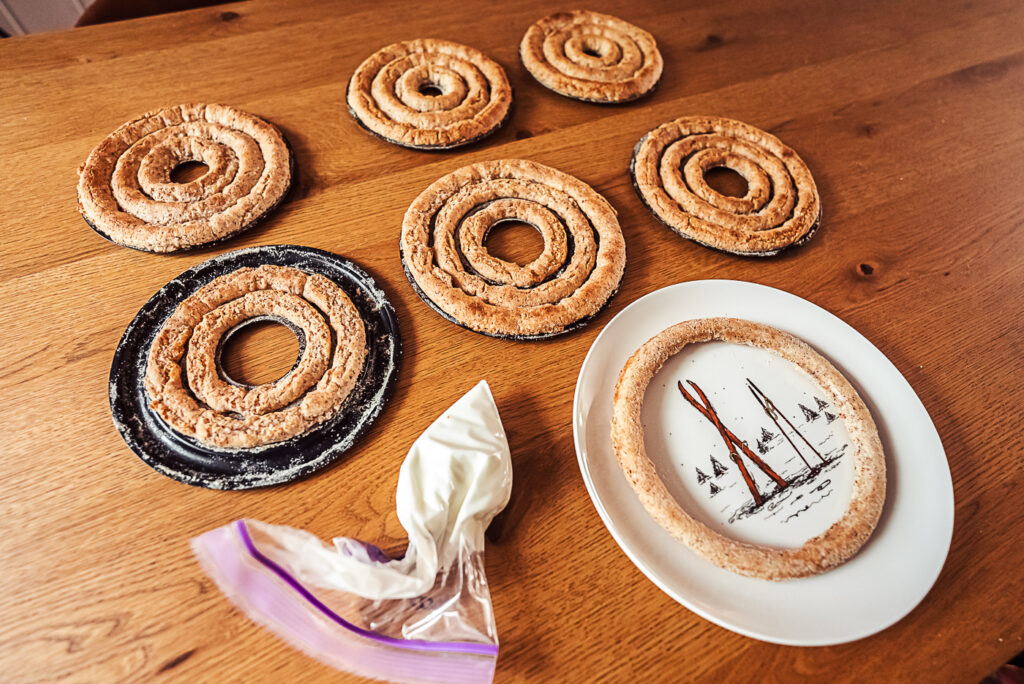
If you don’t want to use raw egg white in the icing, you can use water instead. The icing won’t be as bright white when it dries, but otherwise it will be the same.
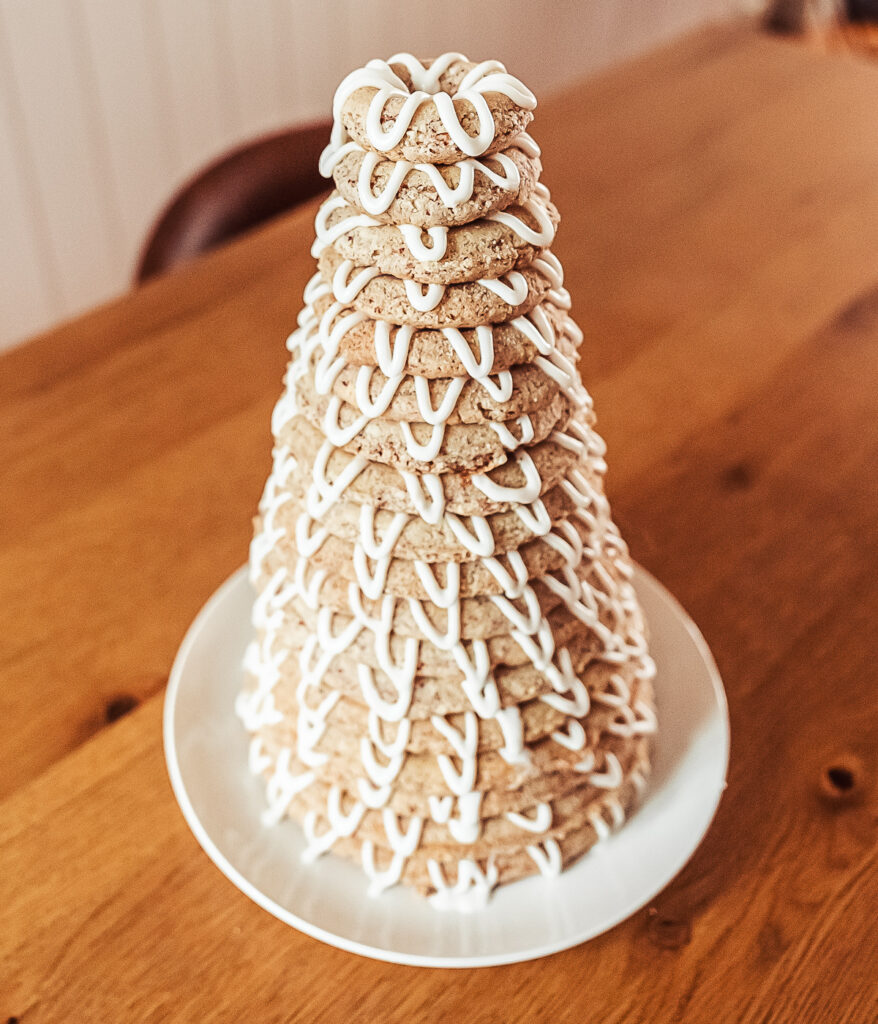
If you want to glue the layers together, decorate each layer and then immediately add the next one on top. This makes the kransekake more stable, but it can be hard to remove each ring from the tower to eat. If you want the kransekake to be easier to eat (but less stable), decorate each ring and let it dry before adding a ring on top. You can also skip the decoration and simply stack the rings – many Norwegians do this as well.
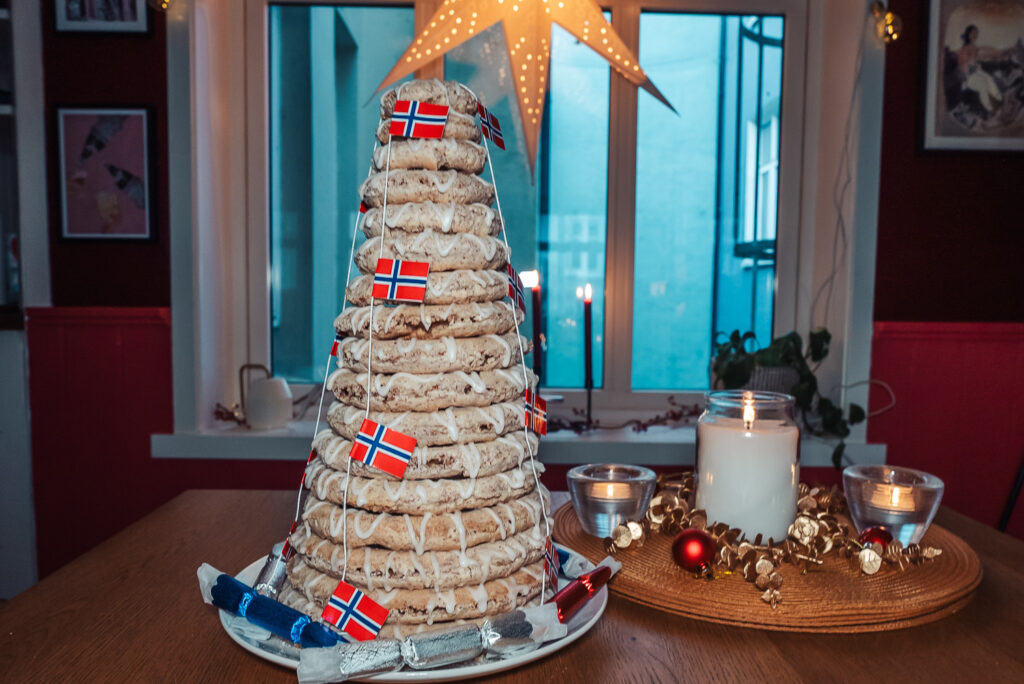
Some people like to decorate their kransekake with Norwegian flags or tinsel. If you’re serving kransekake at a party you can remove the bottom couple of rings and break them into pieces and lay them around the kransekake base. This way people can begin to eat the kransekake without taking apart the tower, so it still looks beautiful.
The kransekake will taste good for many days, though of course it eventually gets stale the longer it is left out.
You can switch the recipe from US measurements to metric by clicking from “US Customary” to “Metric” under Ingredients.
Authentic Norwegian Kransekake
Equipment
- kransekake ring forms
- almond grinder or food processor
- small plastic bag (for piping icing)
Ingredients
- 3 and 1/2 cups almonds
- 3 + 1 egg whites (set one aside for later)
- 4 cups powdered sugar
Decoration
- 1 and 2/3 cups powdered sugar
- 1 egg white
- 1/2 tsp lemon juice (optional for flavor)
Instructions
- Grind almonds in an almond grinder or food processor.
- Mix almonds and powdered sugar together in a large mixing bowl. Add three of the egg whites and knead the dough together with your hands until it comes together in a ball. Wrap in cling film and leave in the fridge for at least an hour, preferably until the next day.
- Grease the kransekake forms thoroughly and coat with semolina, flour, or bread crumbs.
- Preheat oven to 210°C (410°F) top and bottom heat. Divide the dough into six sections.
- Slowly add the remaining egg white to the dough and knead it until you can roll it into long sausages about as thick as your index finger. Fill the forms with the dough sausages, pinching the ends together to make rings.
- Set the forms on a baking sheet and back in the middle of the oven for about 10 – 12 minutes, until the tops are golden brown.
Decoration
- Mix the powdered sugar, egg white, and lemon juice together. Spoon into a plastic bag and cut a small hole in one corner. (If you don't want to use raw egg white you can use water instead.)
- Decorate each ring with a zigzag pattern, starting with the largest. After adding the icing, either stack the next ring on top of it immediately to glue them together, or wait for the icing to dry first to keep the rings easy to separate.

32 Comments
Jessica
October 29, 2023 at 11:36 am
You’re right – I tried making kranse kake with another recipe I found online and it didn’t taste like what I had in Norway. It must have been the almond flour! This time I ground almonds in a food processor and it was great. Let the dough warm up on the counter before rolling it out, so it’s easier to roll.
Lucy Keenan
July 2, 2024 at 11:07 am
What can you use instead of wheat flower to make it completely gluten free?
Silvia
July 2, 2024 at 2:25 pm
The kransekake dough is already gluten free, just don’t coat the greased forms in wheat flour.
Jeff Brown
November 26, 2025 at 4:32 pm
I used corn meal to dust the pans (greased with butter) and it worked well.
Jeff Brown
Mindy Meyers
October 28, 2024 at 2:13 am
Can I use almond flour? If so, how much?
Silvia
November 5, 2024 at 10:12 am
No, almond flour will give the wrong consistency. You have to use ground almonds for kransekake.
Johanna
December 23, 2025 at 4:45 pm
If you use almond flour it will be more like marzipan (in fact, this is essentially a marzipan recipe.
Unfortunately I’ve had a very hard time finding a nut grinder with a fine enough grater in the US. Don’t know why as a lot of recipes call for nut meals. I have one I bought in Europe, but it sells for $125 on Amazon (westmark almond grater which is almost 3x what I paid in Europe. I have the metal one). That said, a kransekake retails for over $200 here.
Julie
December 13, 2024 at 7:07 pm
Could I use sliced almonds to grind instead of whole almonds and if so, same quantity? 3 1/2 cups?
Silvia
December 14, 2024 at 9:00 am
Hmm I’ve never tried, and sliced almonds do tend to be a bit drier. But if you do try then you could measure by weight to be more exact – 500 grams or 17.6 oz.
Nicole Bagg
January 25, 2026 at 1:12 am
I used silvered almonds. They worked great:)
Sabine
December 19, 2024 at 5:30 pm
I made it for friend’s birthday party, and I made sure the almonds weren’t ground too fine. Instead, they weren’t fine enough, and the dough ended up being ridiculously sticky and hard to form. It took me almost two hours to fill the pans, and I ran out of dough for the smallest ring, and then they melted into each other a little and I had to cut them apart. Then I stacked them (lopsided, of course) and frosted them with frosting that was too wet.
In other words, everything that could go wrong did go wrong, but OMG, they tasted so good.
So I made it again for other friends, and this time I ground the almonds much finer, but I was so paranoid about running out of dough I made the coils super thin and then had quote a bit left so I formed it into a bunch of stars to lay around the tower. Lopsided again, although less so. But the dough was much less sticky and it only took me an hour. And it tasted delicious.
Today I’m making it again, and I am determined to get the dough right, and the thickness of the coils. But in spite of all my errors, they taste delicious, so thanks for this recipe.
Silvia
December 20, 2024 at 8:13 pm
It can definitely take some practice to get the thickness of the rings right, so I think it’s wonderful that you’re persevering!
Rebecca
December 21, 2024 at 12:59 am
Hello! Thank you for your beautiful recopies, I love how detailed they are. Do you think it would work with pistachios instead of almonds?
Silvia
December 22, 2024 at 3:58 pm
Hmm I’m not sure it would work, as the oil content of the nuts are different. But I would be very interested to hear if you try, as pistachio kransekake sounds delicious!
Kristen Woodburn
January 4, 2025 at 7:40 pm
I followed the recipe exactly and the rings came out super dry. Next time, should I do less heat? I did 410F as instructed.
Silvia
January 7, 2025 at 10:05 am
I would reduce the bake time, unless your oven tends to run hot (in which case reduce the heat).
Sally
February 14, 2025 at 10:52 pm
Hi, my mom grew up in Skudeneshaven and we would love to make this for her 90th birthday. Can it be made a week in advance, or should it be made a day or two before her party? Thank you!
Silvia
February 15, 2025 at 7:57 am
You can make this a week in advance, but it tastes best in the first few days.
Sally
February 20, 2025 at 3:41 am
Okay, thank you.
Jabberbock
September 7, 2025 at 5:37 am
I’m sure it’s too late for your party, but for others reading – this is the best make ahead recipe ever because the texture is so much better after it’s been frozen for a while – at least 24 hours but I’ve taken them out a month later too. I consider freezing a required step (I’ve made dozens of these).
Just let it cool to room temp & sandwich the sets of rings between squares of cardboard before sliding into a large ziploc. I can usually fit 2-3 sets of rings in one 2 gallon bag. Then freeze till the day you want to serve it – remove several hours before eating – it’s ok to remove in the morning and eat in the evening, and it will be delicious for at least a day or so if you store it covered.
Camilla
January 31, 2026 at 12:09 am
You can definitely make the rings a week ahead and freeze them until you are going to build the tower either the day before or the morning before you are serving it.
Jabberbock
September 7, 2025 at 5:32 am
I’ve made dozens of kransekaker. My recipe is very similar: 500g of ground almonds, 500g of powdered sugar, and 3 egg whites. If rolled out correctly, this amount will *perfectly* fill the 18 ring form. I divide my dough into 3 equal pieces, then fill the largest and smallest, second largest and second smallest, and middle two rings each with one of the pieces – that way I know if I’m rolling them out too thick or thin.
The keys to getting the chewy inside texture are:
1) do not overbake. The top should be just very slightly blushed, and the bottom just very slightly browned. If it gets too dark, the rings will be more like biscotti texture – still delicious but not full potential.
2) freeze the rings for at least 24 hours before serving – defrost a few hours before eating. This is really key to consistently getting the right texture. I cut squares of cardboard and slide the rings onto the cardboard, still nested like they are in the forms (but do remove them from the forms. Cardboard and rings then go into large ziploc bags and into the freezer. Don’t put them in hot but they can be very slightly warm.
If you over baked the rings they will be better texture the second day after defrosting, so eat the dark ones last.
Kim
November 3, 2025 at 6:16 pm
Should the almonds be roasted or raw?
Silvia
November 7, 2025 at 7:09 pm
I use raw almonds.
Lisa
December 2, 2025 at 5:11 am
Hi Kim. The almonds should be raw.
Tammy
November 27, 2025 at 1:00 am
I tried it for the first time it is real sticky and not wanting to roll out. I measured the almond out slivered before grinding maybe I didn’t grind then fine enough? Any suggestions please
Kayla
December 19, 2025 at 1:29 am
Good recipe! I’ve tried it three times, and each time it’s gotten better. The only area that is a little confusing is how long to knead the dough for. It starts off very, very sticky and it’s a little unclear how long to go until it forms the ball. I had to to use some extra powdered sugar to make it work.
Nita
December 19, 2025 at 1:35 pm
I made the Kransekake a while ago and added lemon zest to it, and I think that was a really good choice, it gave it a little extra… so maybe also for someone else to try
Janet Amaral
December 27, 2025 at 1:20 am
Hello, Thanks for posting this recipe and the easy to follow video. I was a little confused with the written directions though. Do I add the last egg white before or after I divide my dough into six parts, or just use it if my chilled dough seems too dry?
Thank you
Silvia
January 22, 2026 at 9:46 am
The last egg white is for the icing – you add it to the powdered sugar (under the decoration heading). But you can also add egg white to the dough if it seems too dry.
Lis
December 28, 2025 at 9:04 am
Hi I am diabetic. Is it possible to reduce the sugar amount please?
Silvia
January 22, 2026 at 9:45 am
I’m afraid you can’t reduce the sugar in this recipe without changing the texture of the cookie.